|
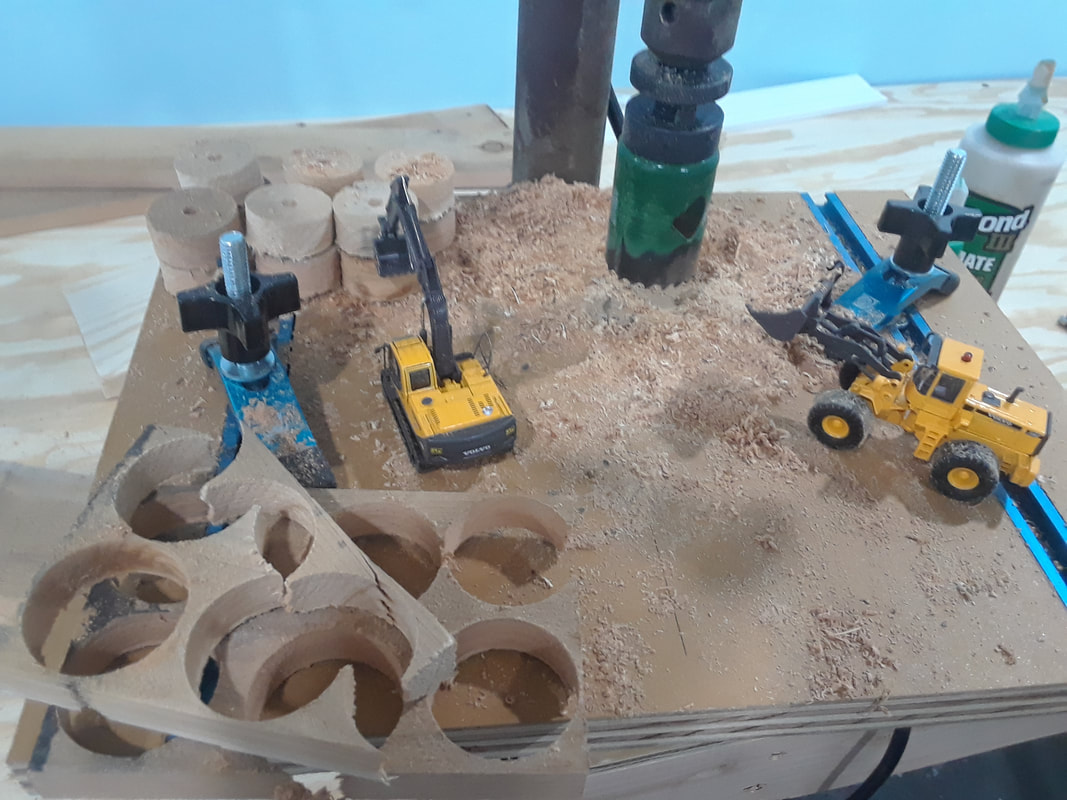
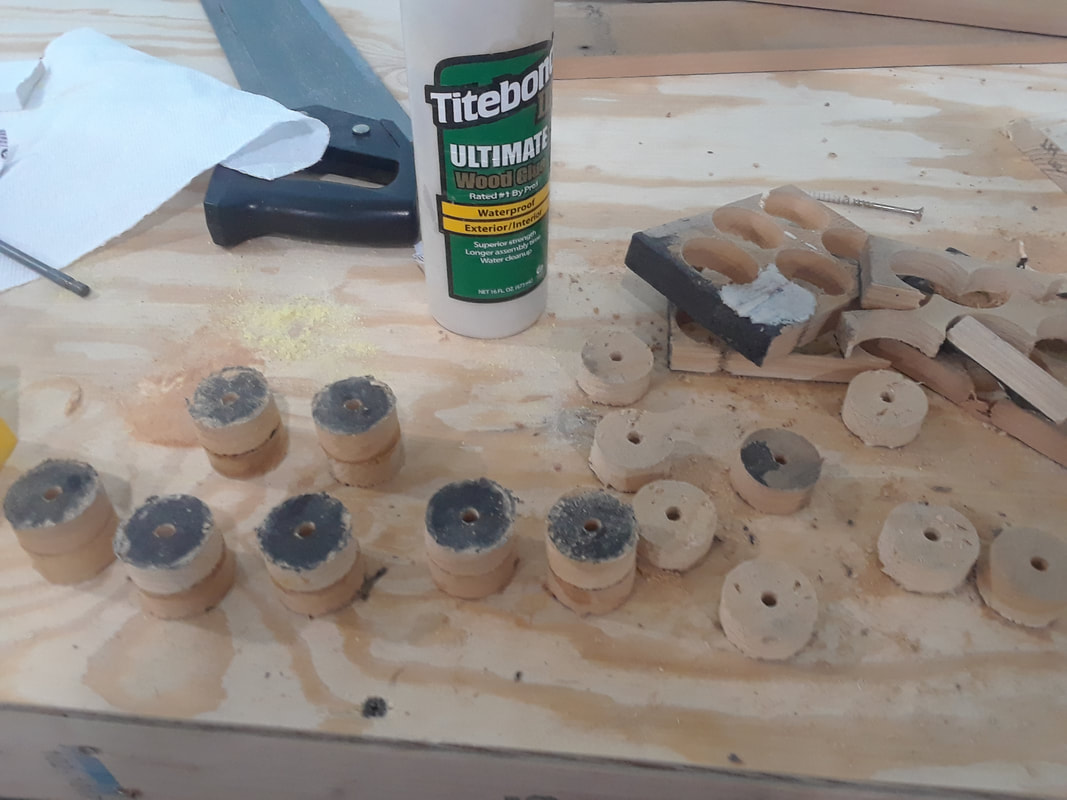
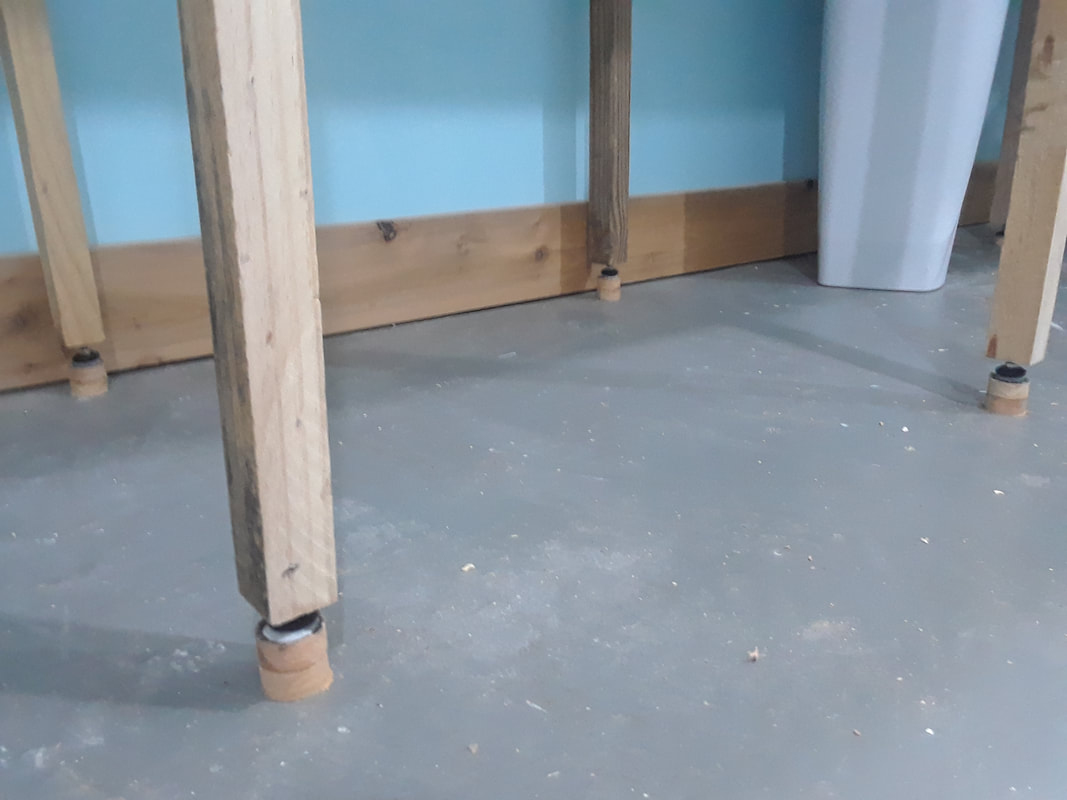
Lots of other odds and ends to finish up on the workbench today. I started with making the adjustable leg risers. Bringing in the drill press as it is close to zero out today. Cutting out a whole bunch of circles a bit bigger than the adjustable feet themselves.
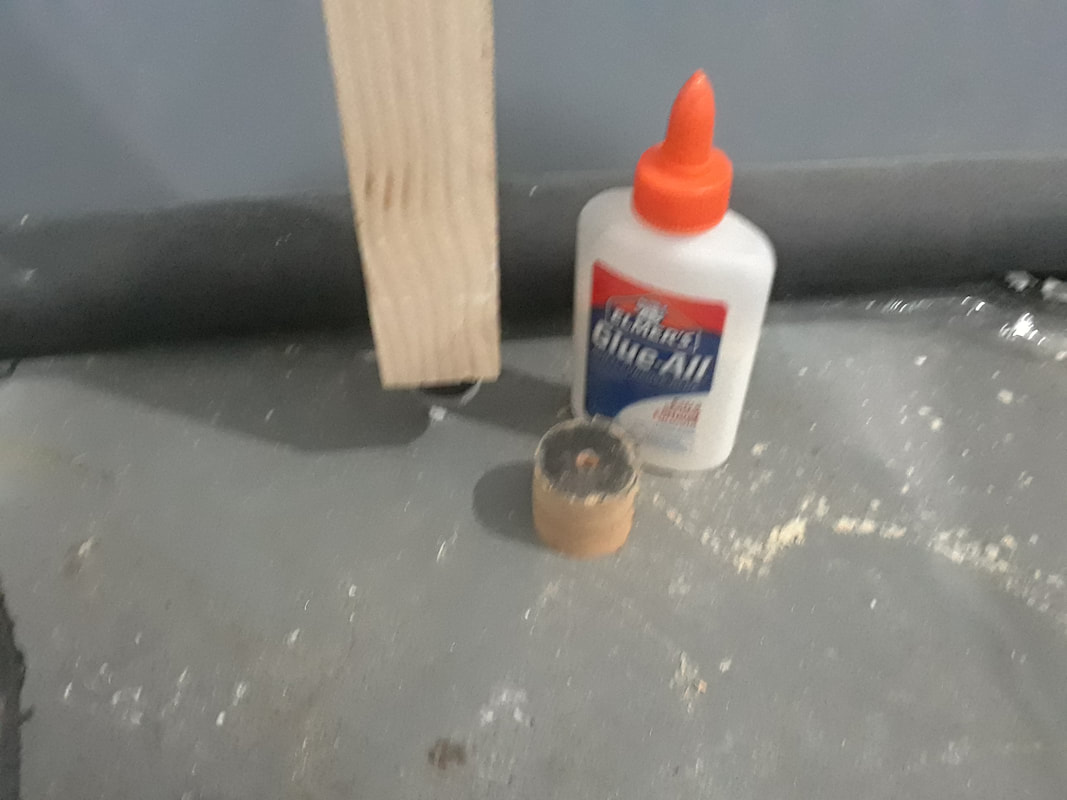
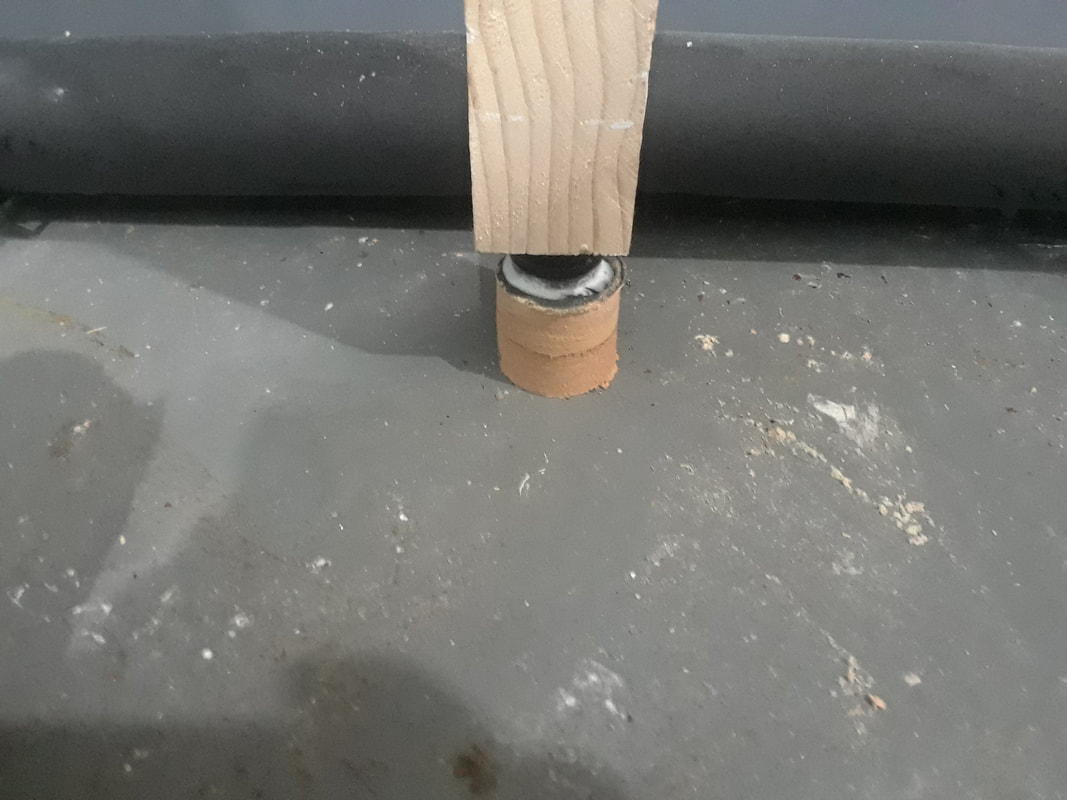
Some legs needed bigger spaces so two of them were glued together. For where they were placed I used regular glue to affix them to the fibers on the feet. that way in the future if I ever needed to take them off they won't be to hard to do. Thereason i did not attach the spacers directly to the legs first is for the same reason, I i ever move the tables I want to be able to start with level legs.
Looks way better and not going to bump into them. Once I get the majority of wiring done I will put some cross braces in as well front to back.
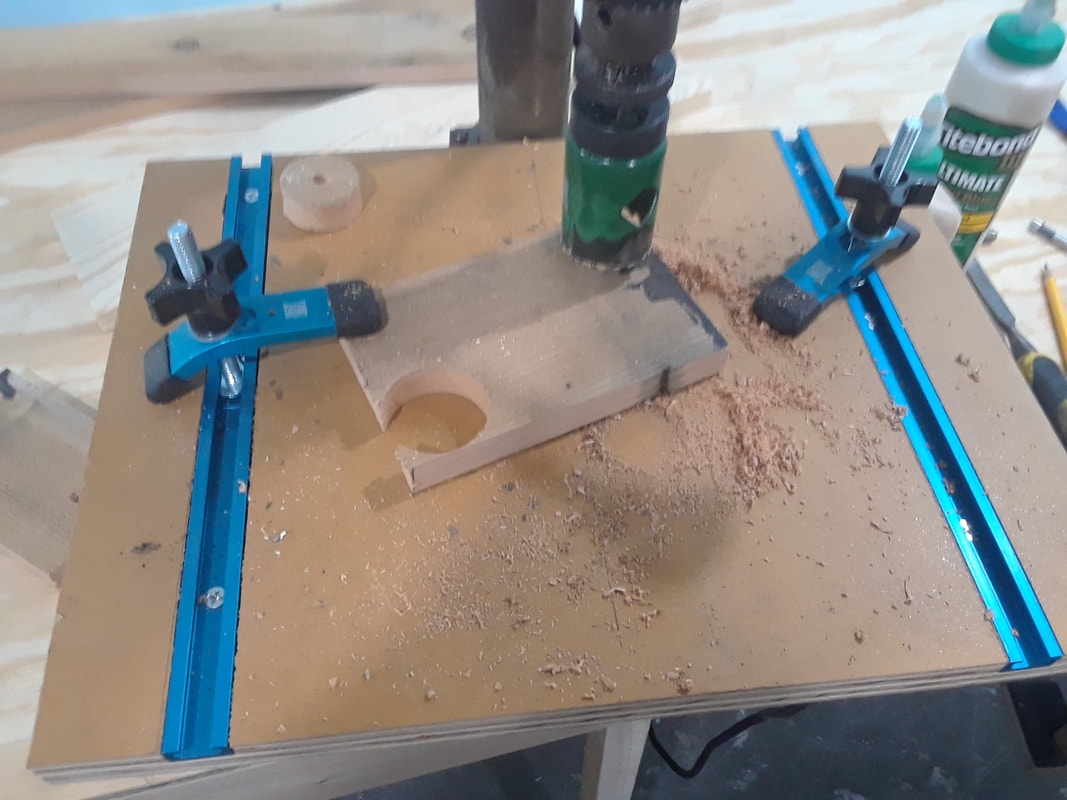
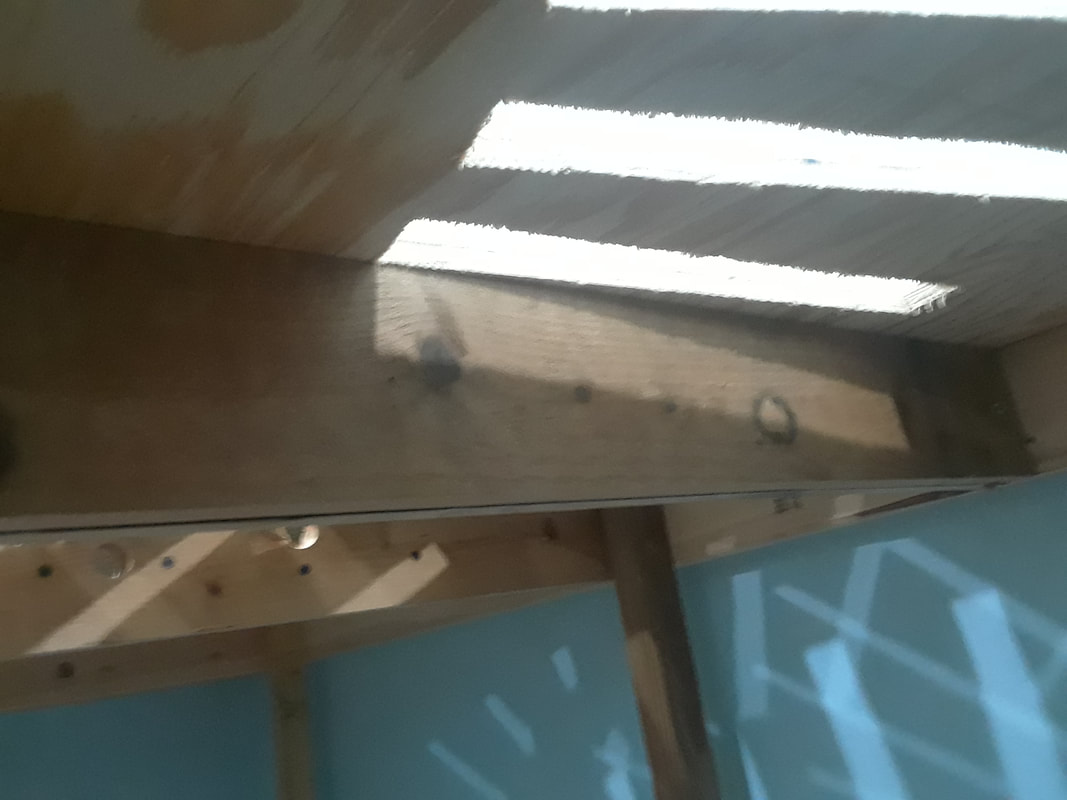
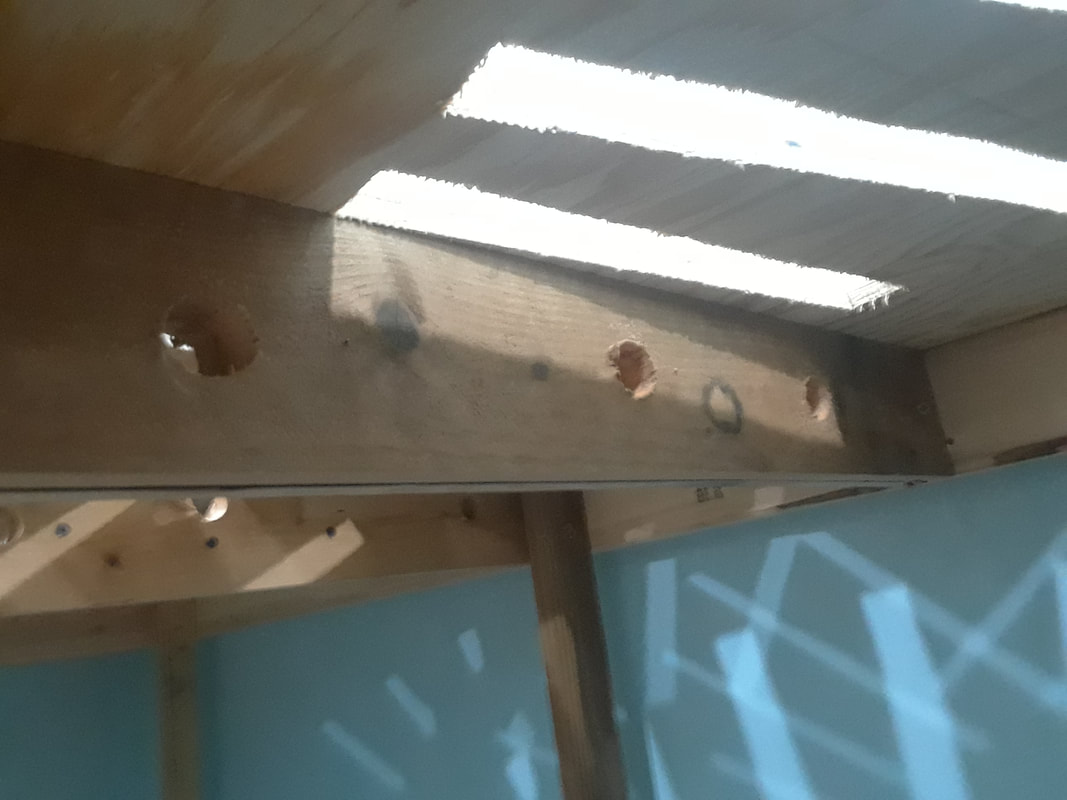
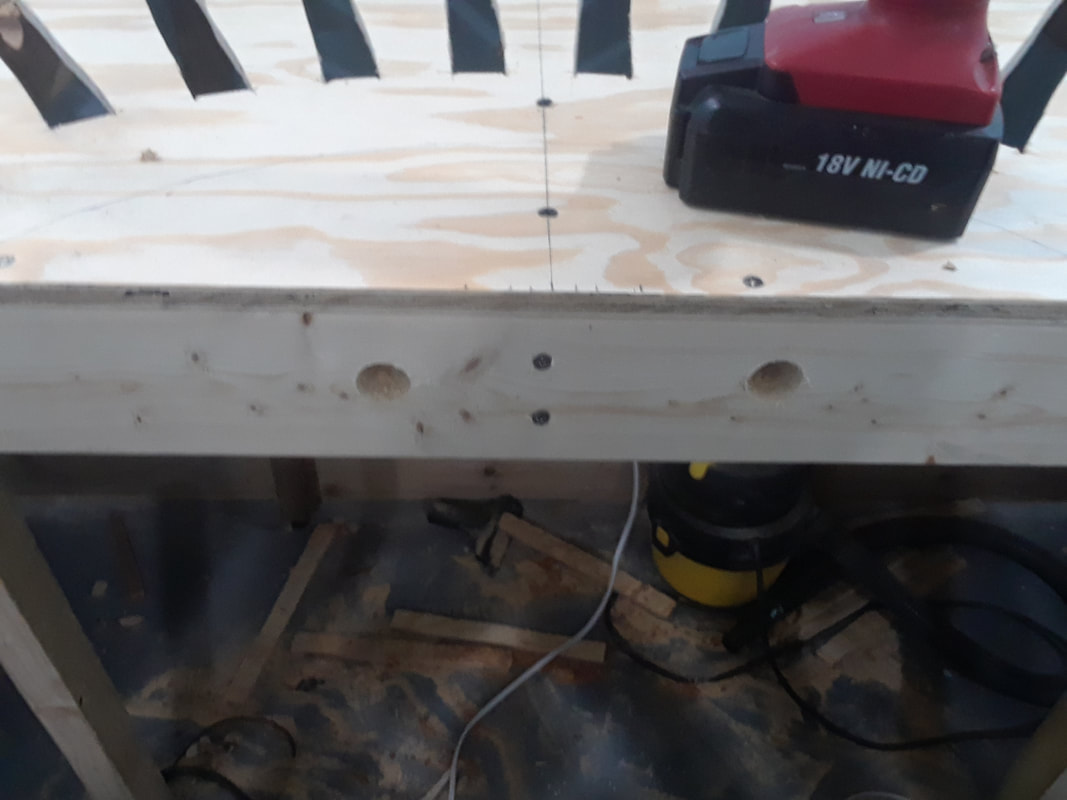
Not pretty but chiseled out the cross-members in the pit ares to make future wiring easier. 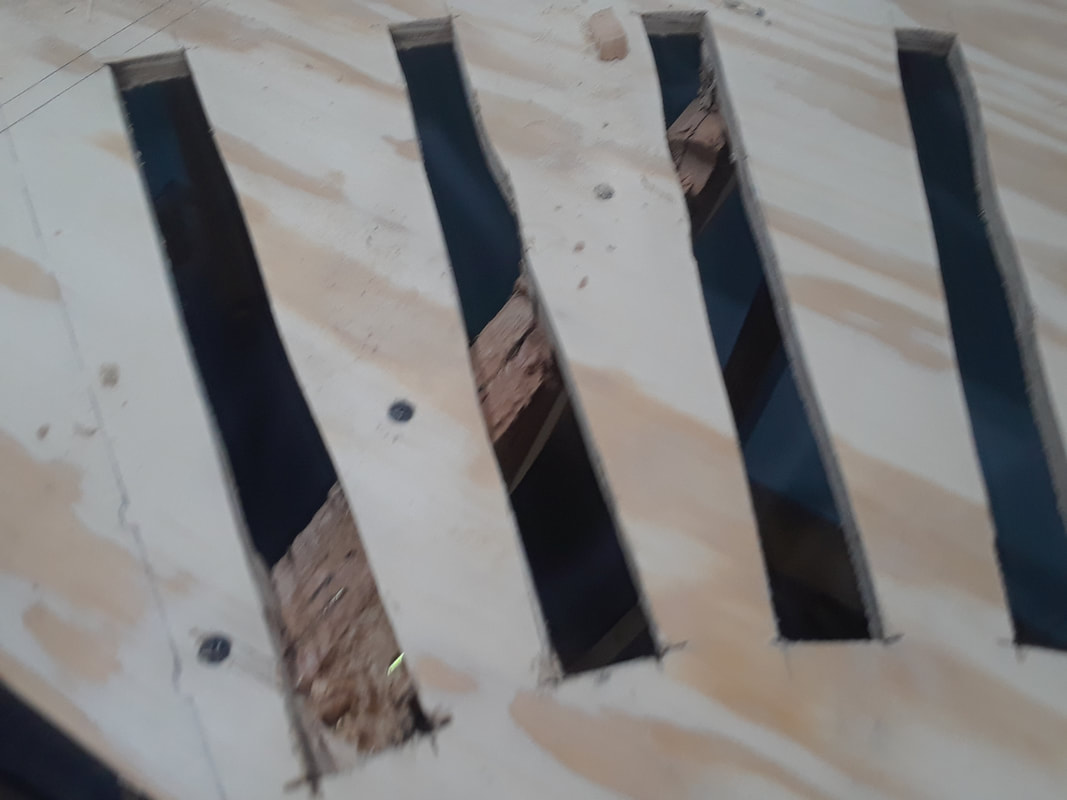 Using a cheap disposable 7/8 spade bit, it was time to add the last of the bus wire holes. 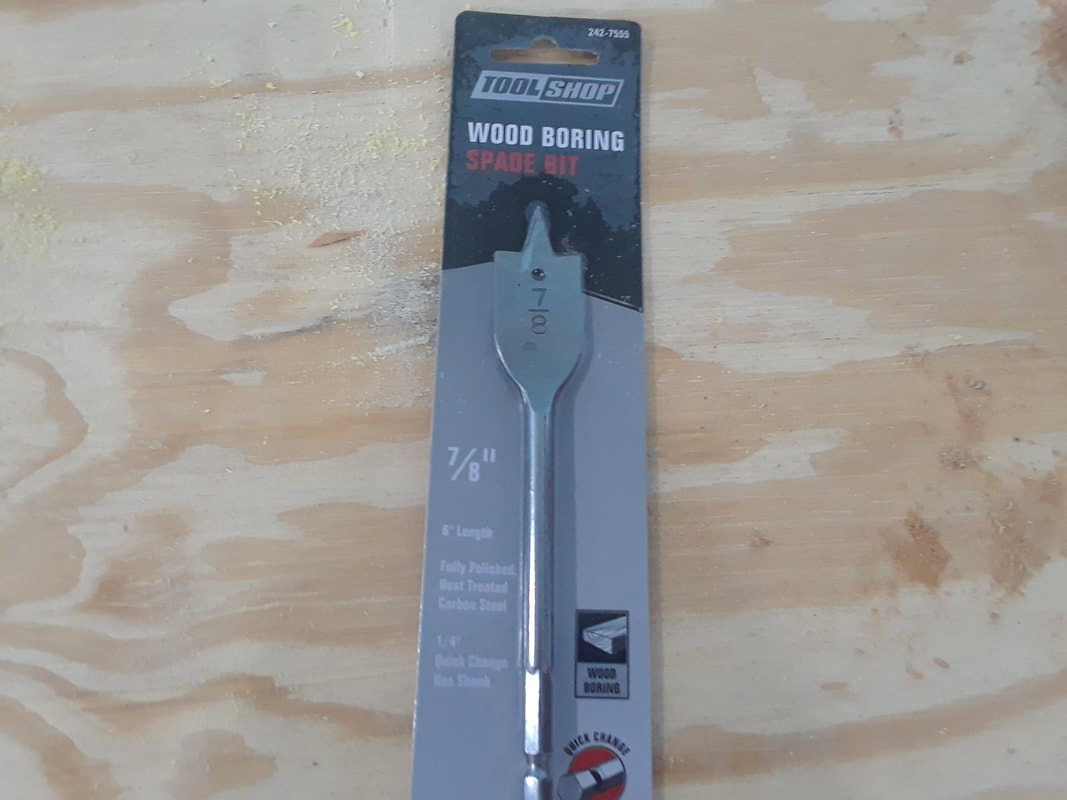 Three new holes here...
Two more here for where the turntable benchwork will be in the future once the roundhouse is completed.
0 Comments
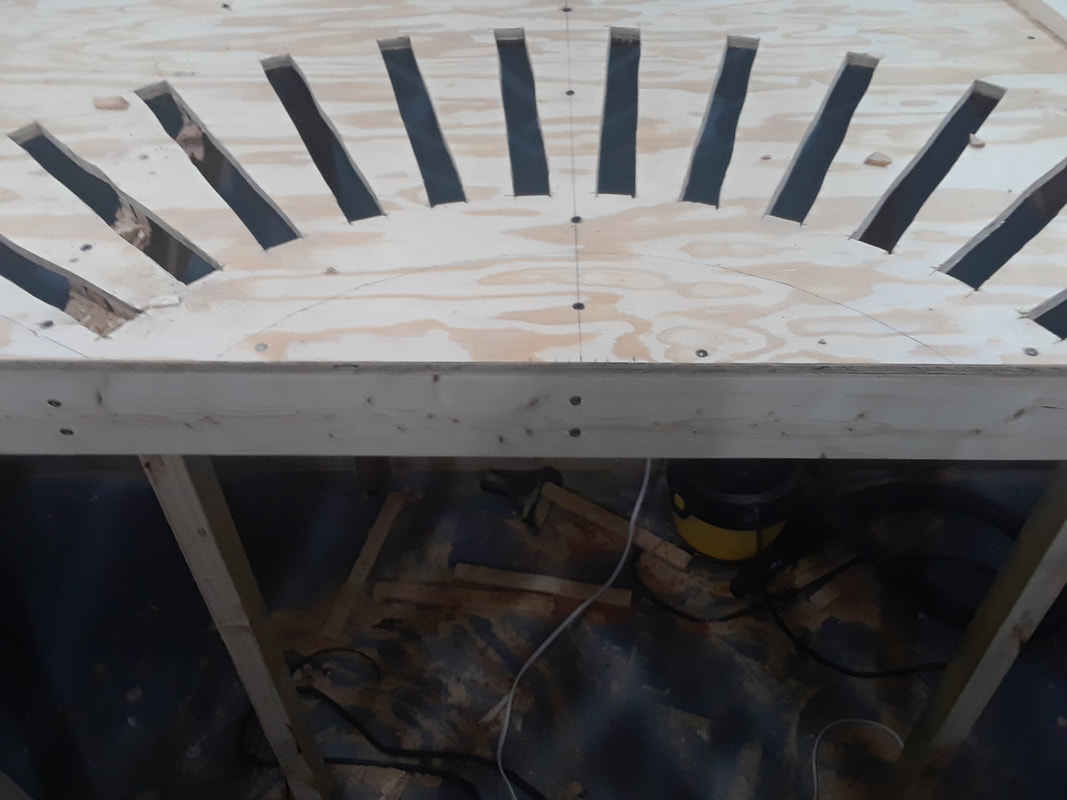
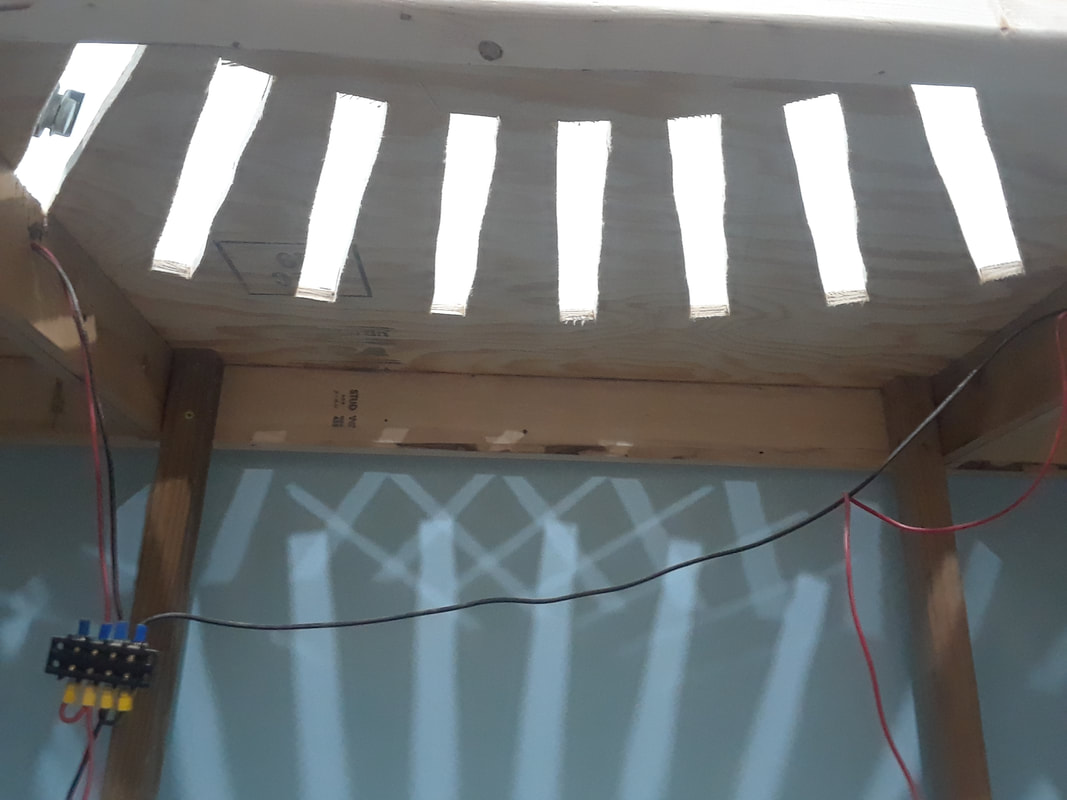
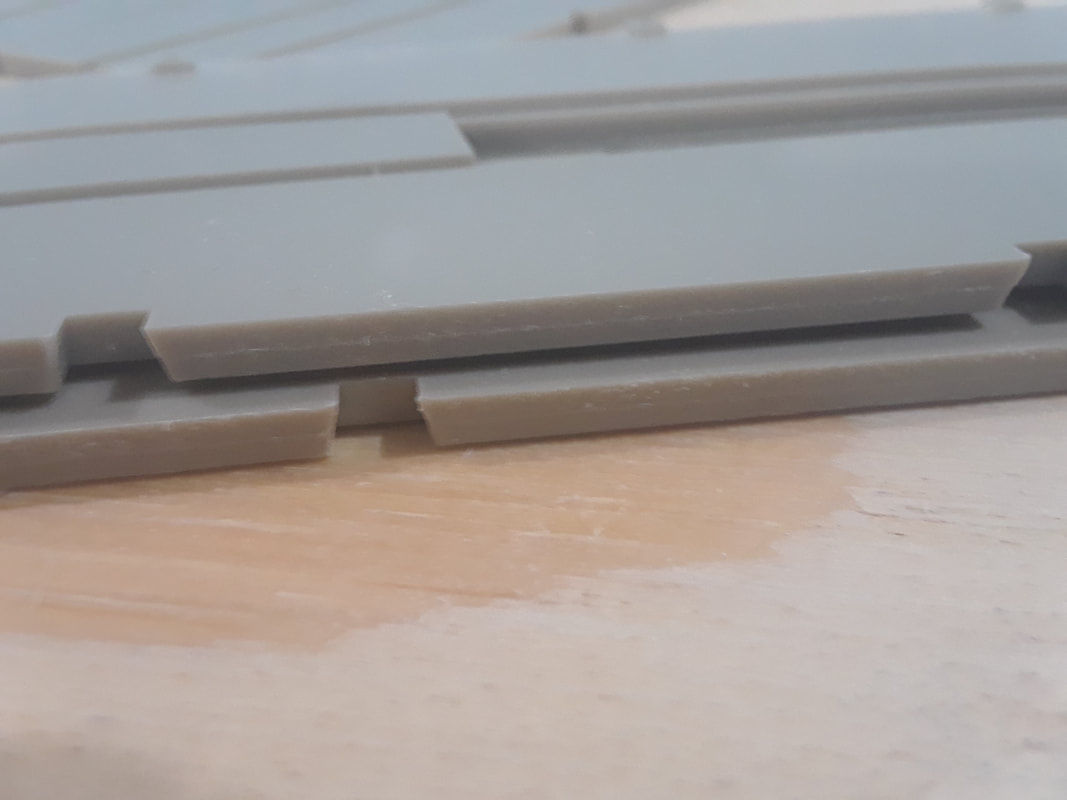
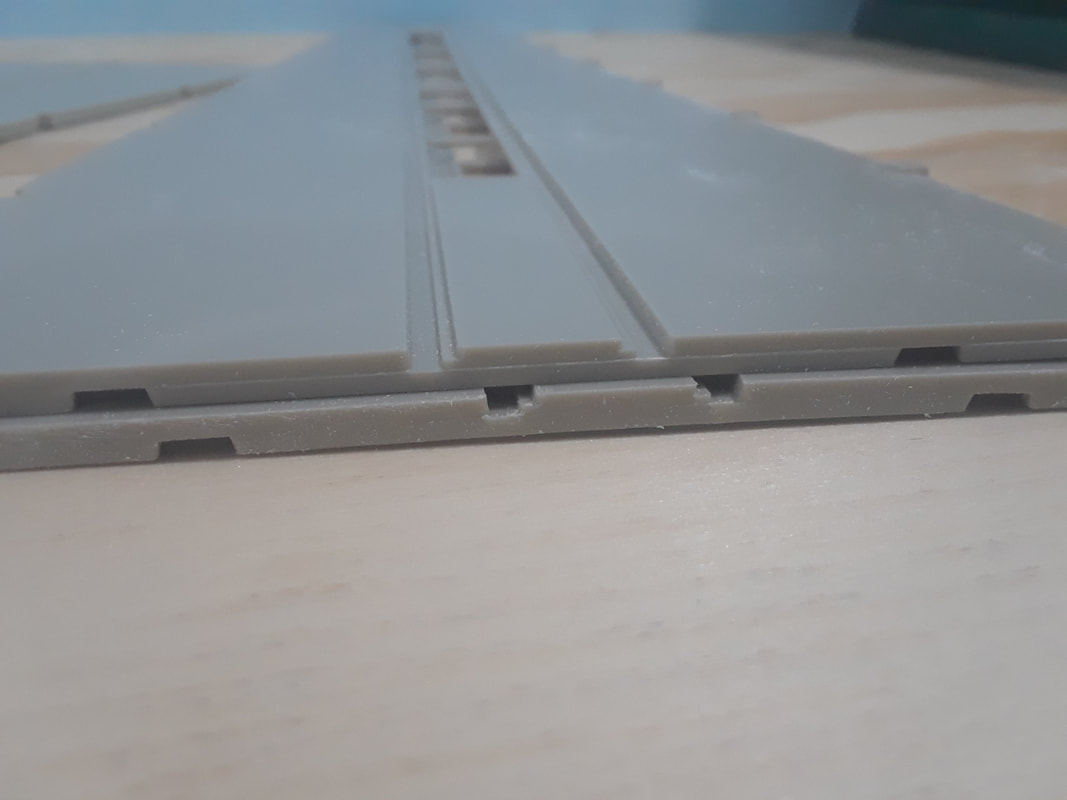
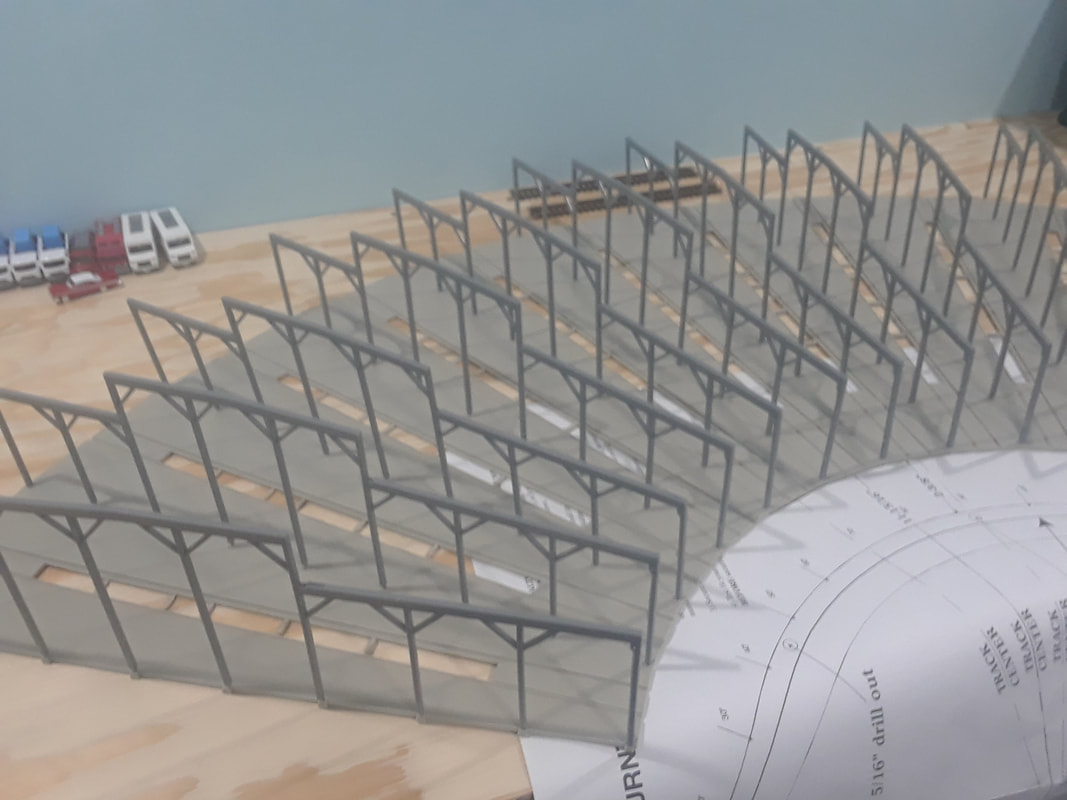
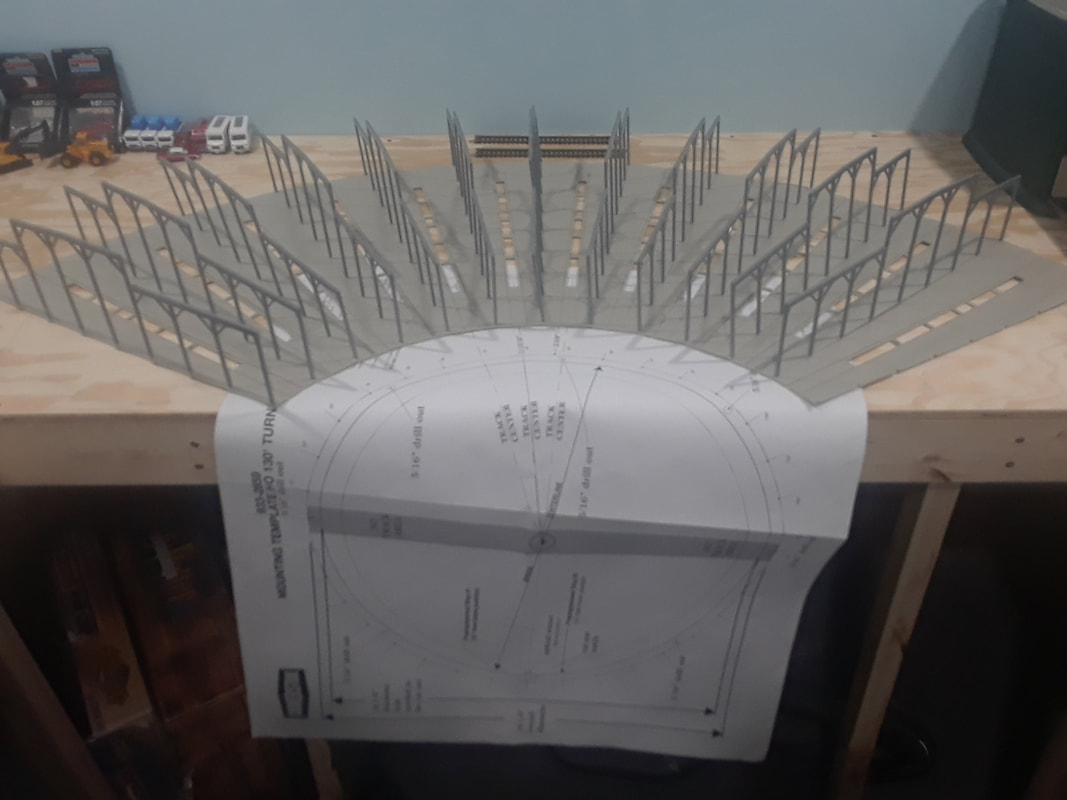
With the 12 slots cut out of the plywood top, it needed some extra support. So I made a new beam to put down the center of the stalls. Then I screwed down the top permanently to the three beams. Tomorrow I will add some plywood strips between the other stalls on the bottom side for additional support and to keep the top from warping in the future. The heat register in the train room has always been ineffective at heating the whole area. Even if it had a diverter it would still just warm one corner of the room as it faces downward instead of outward into the room. To fix this problem I am installing a new register on the vertical flat side. 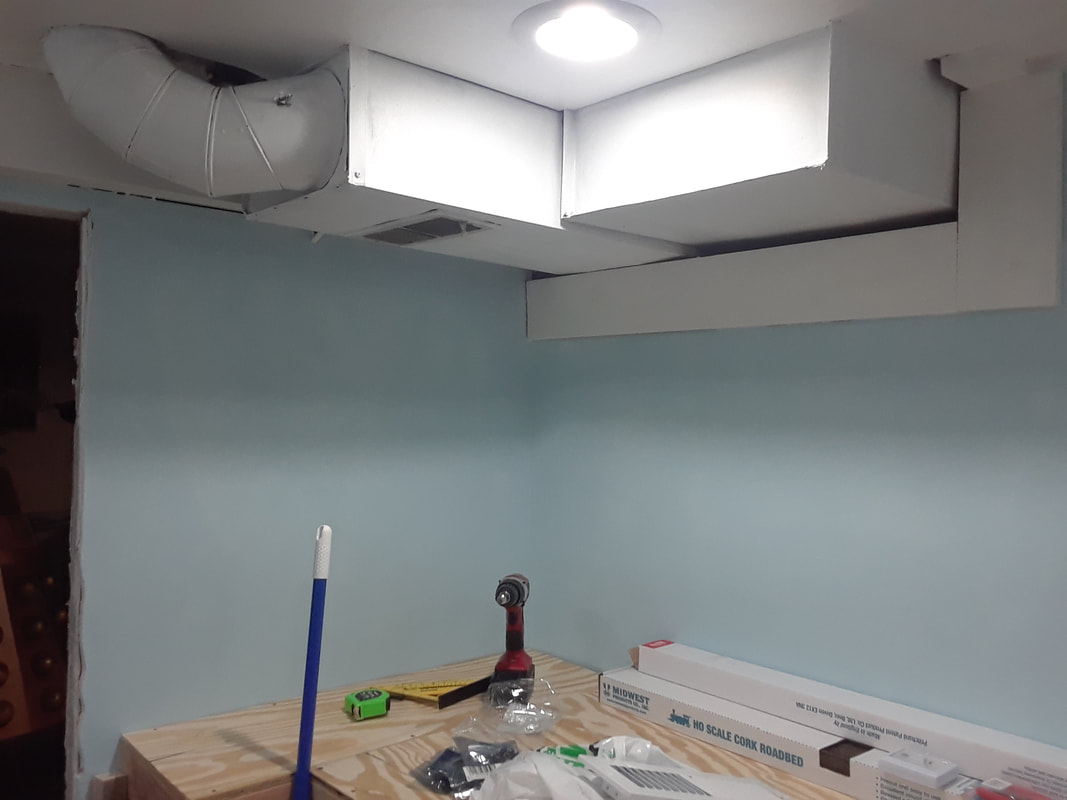 While i was at it I also removed the shut off flap to the room upstairs as there has never been a reason to have it closed. The little bit extra in airflow would be welcomed as well.  Everything marked out and cutting the opening with a metal cutting blade. 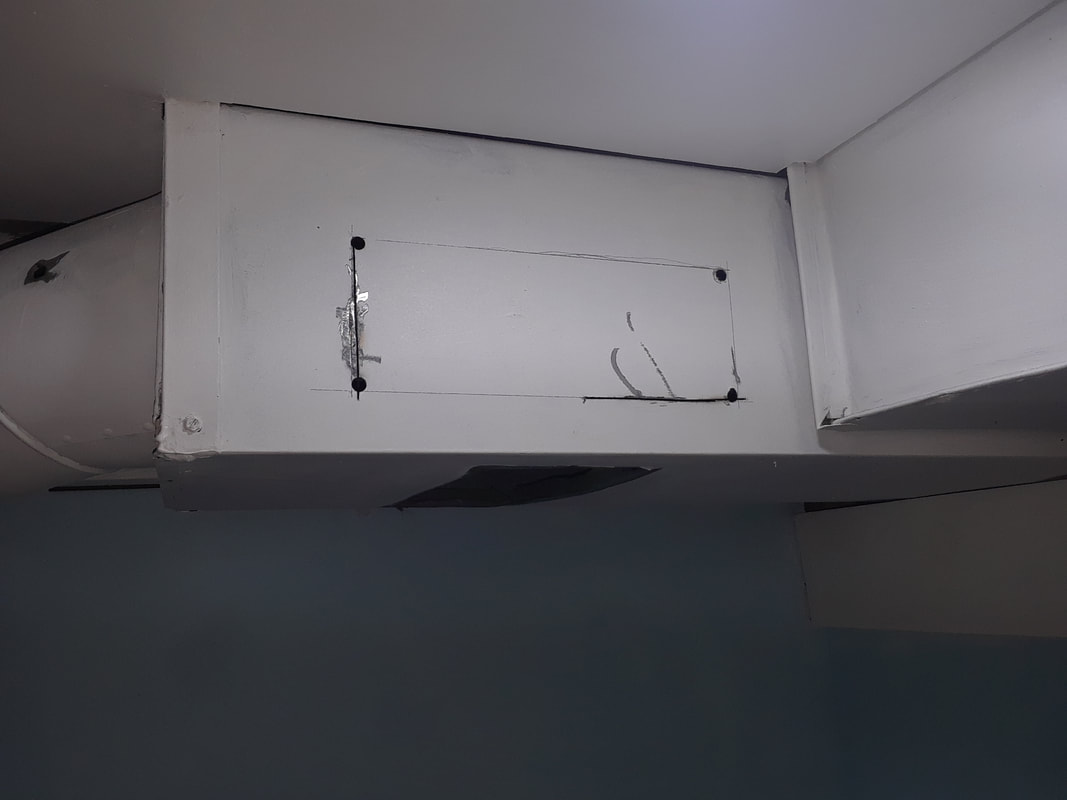 Bending the fins so the air will be directed where I want it to go. Before installing the cover I wiped out the duct-work as far as I could reach in both directions.  Installing the vent is simply done with two sheet metal screws. Where the shut off flap was I will and some window and door caulking to the hole to seal it shut. A touch up of paint and it is done. Now the whole room is heated instead of one corner! I cheap upgrade with great results! 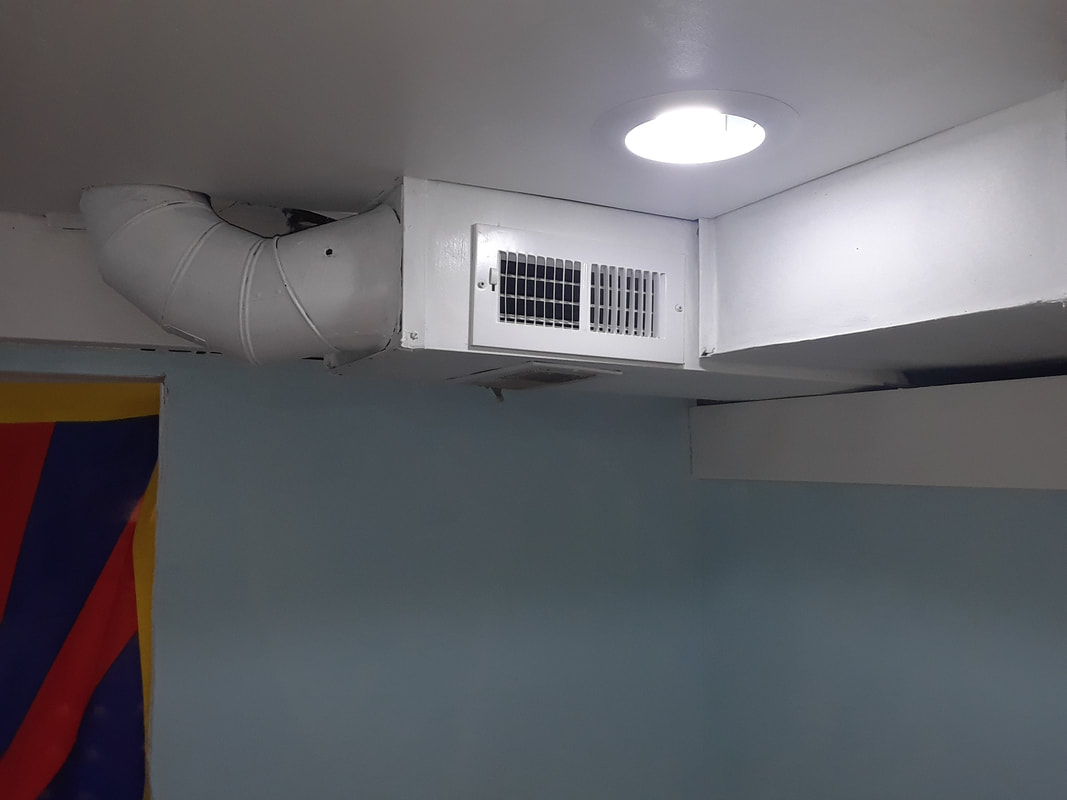 This is the first post of the HO scale roundhouse build! It will consist of 12 bays with overhead and pit lights. The 130 scaled foot turntable will be automated and be on a center table that has yet to be built. Enjoy! If you have any questions please see us on our FACEBOOK PAGE. ----------------- First things first. Sanding all the flashing and mould lines off the sides of the floor pieces for a tight fit.
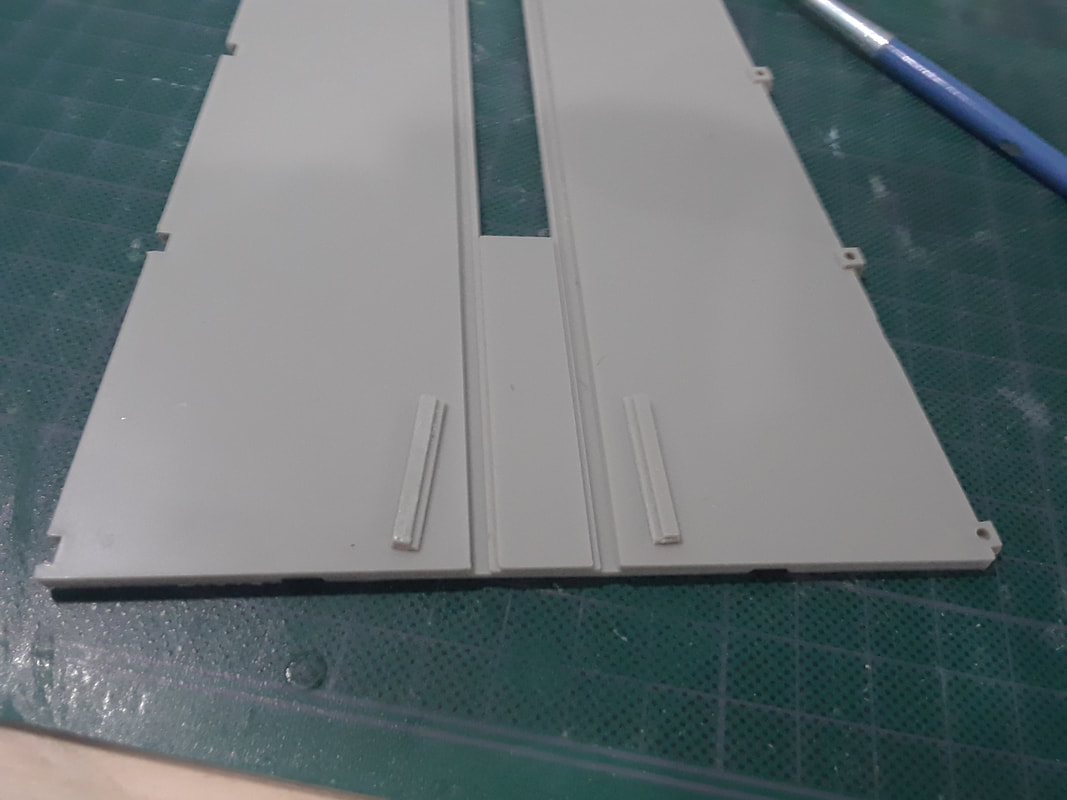
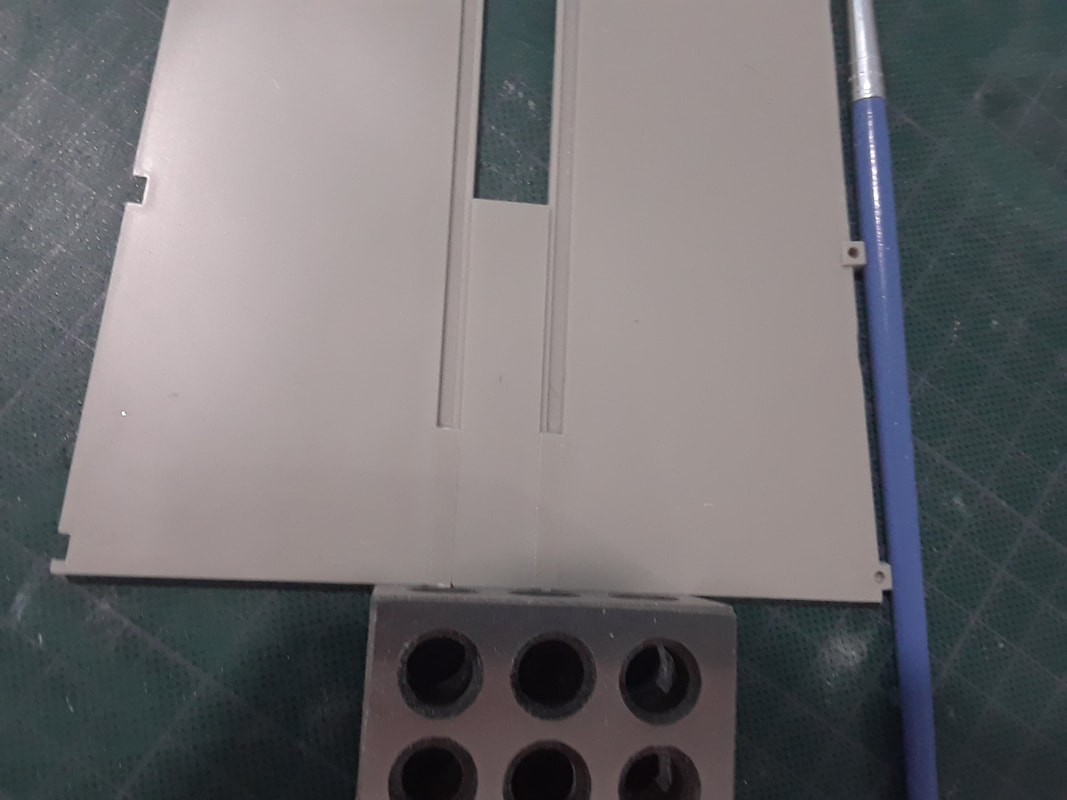
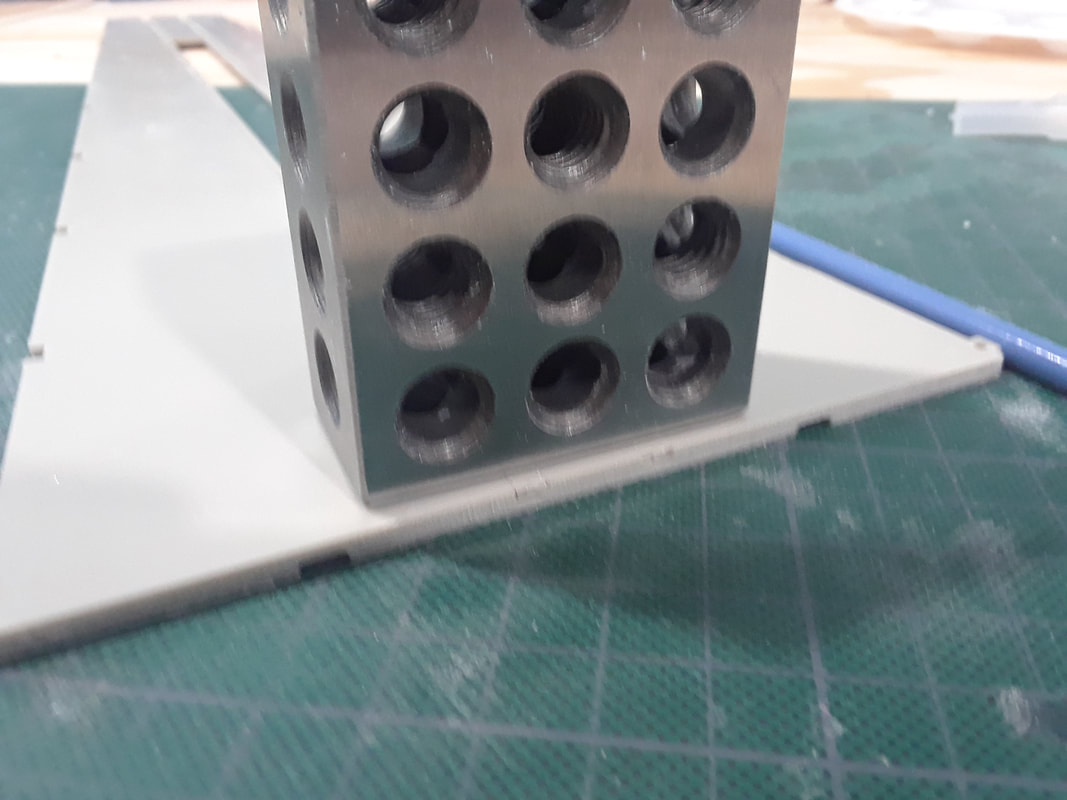
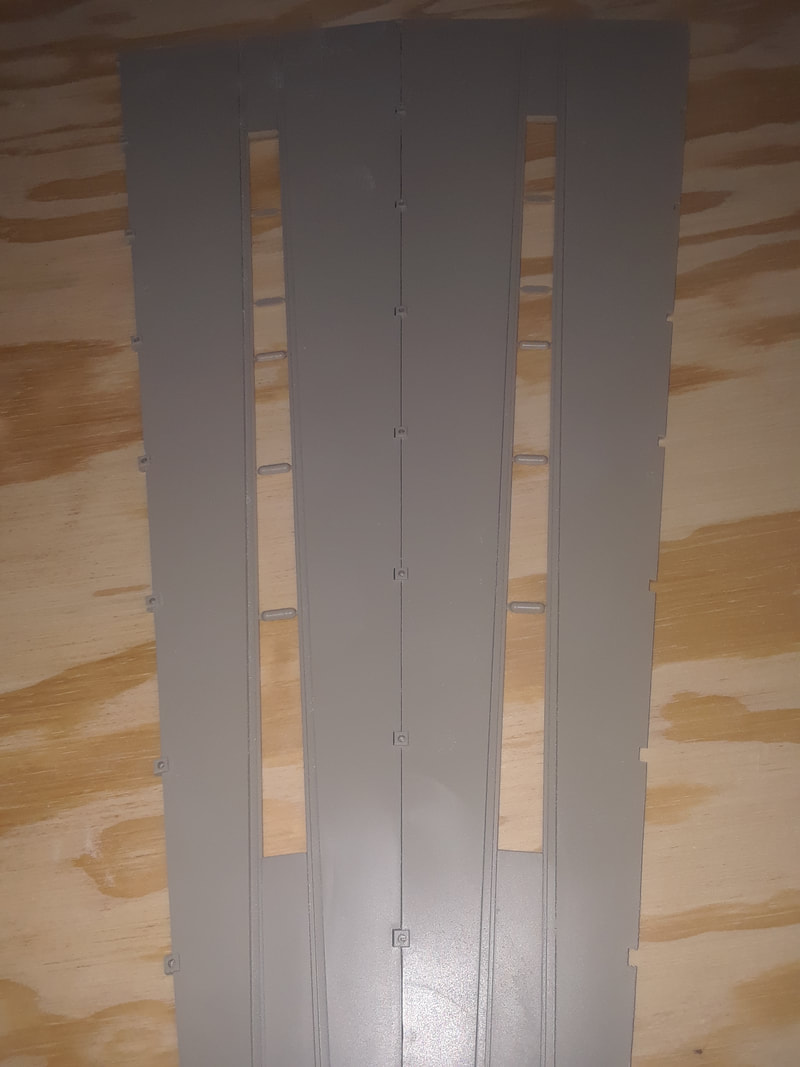 Lot of plastic dust already! 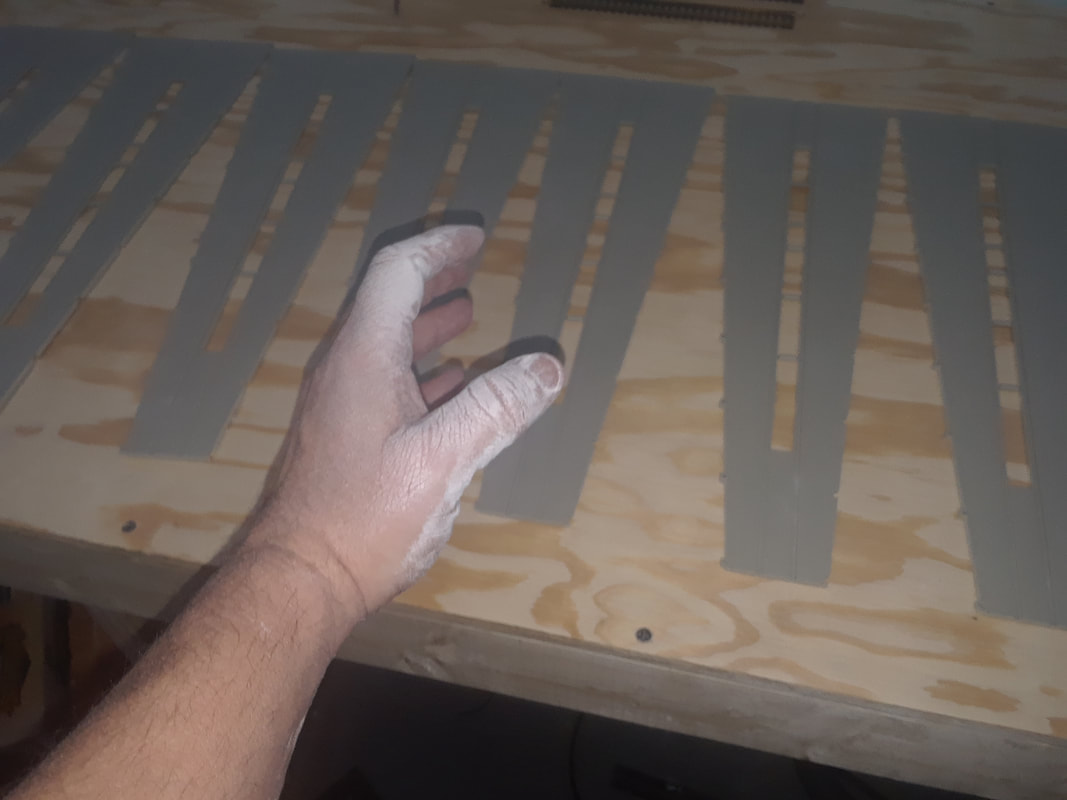 Test fitting the beams.
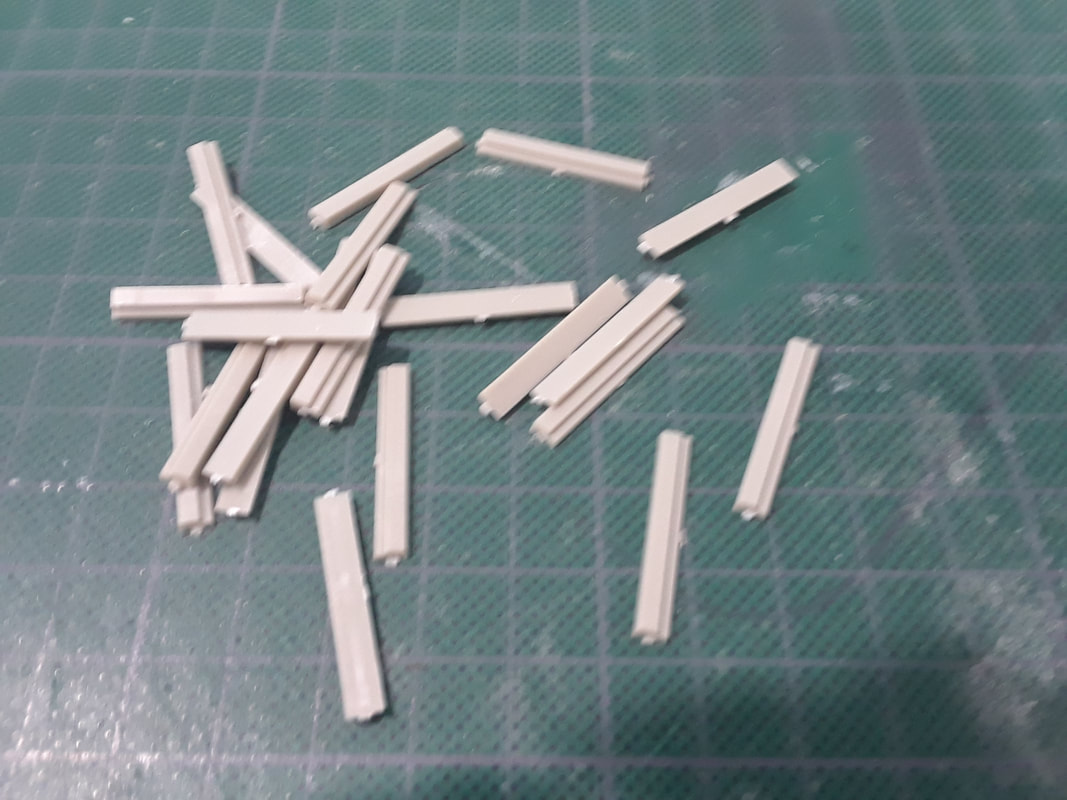
Once everything was set where I wanted it I traced the layout and the pits. 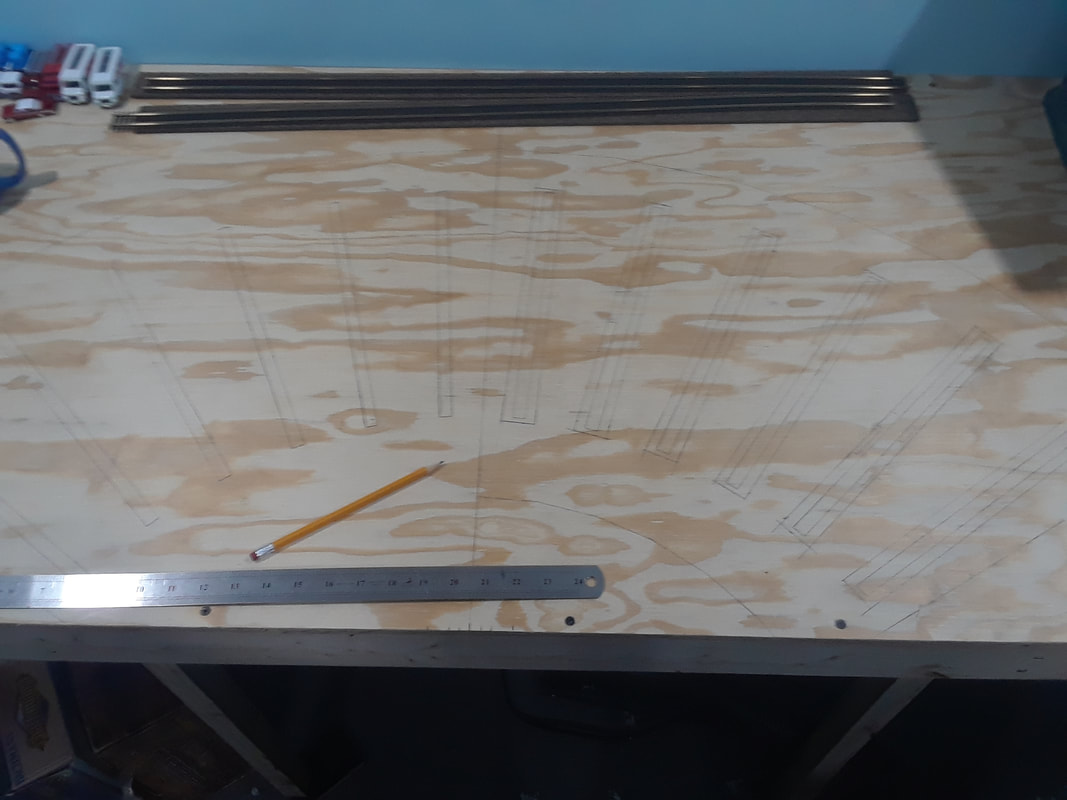 The pits... 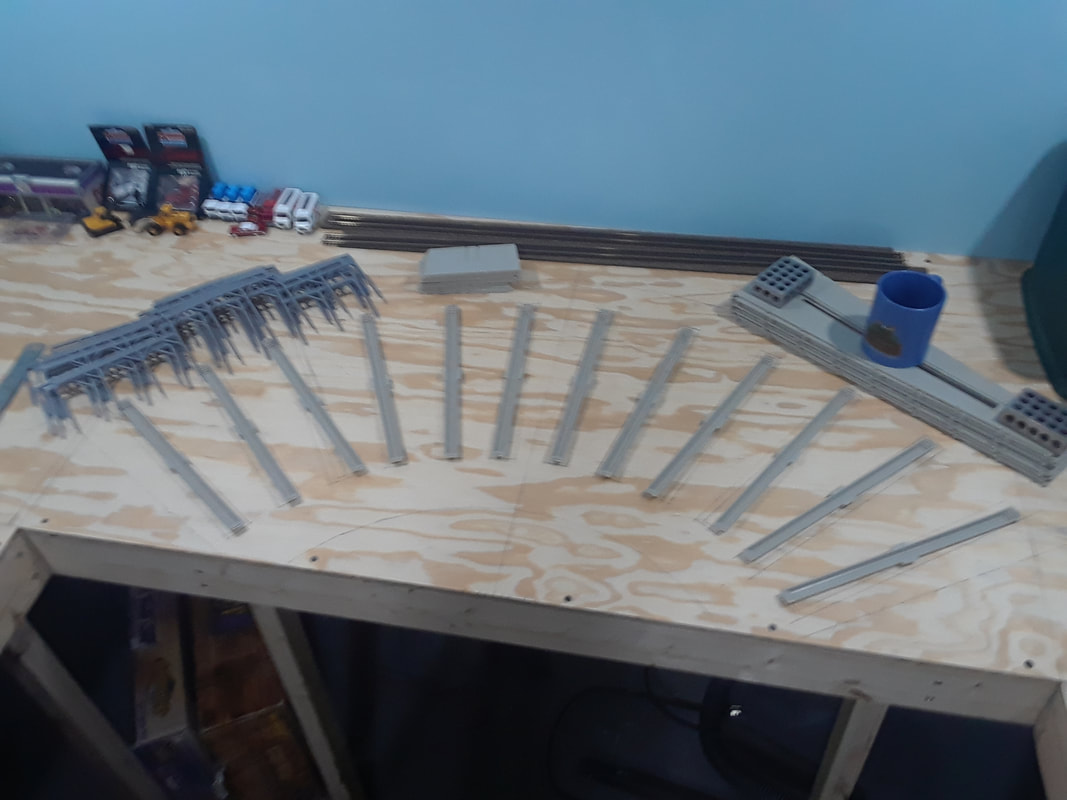 The floor has the rail lines go out the back side if you plan on using the extension pieces. On this layout only two extensions will get used so the rest get these tiny rail caps at the back end of the bays.
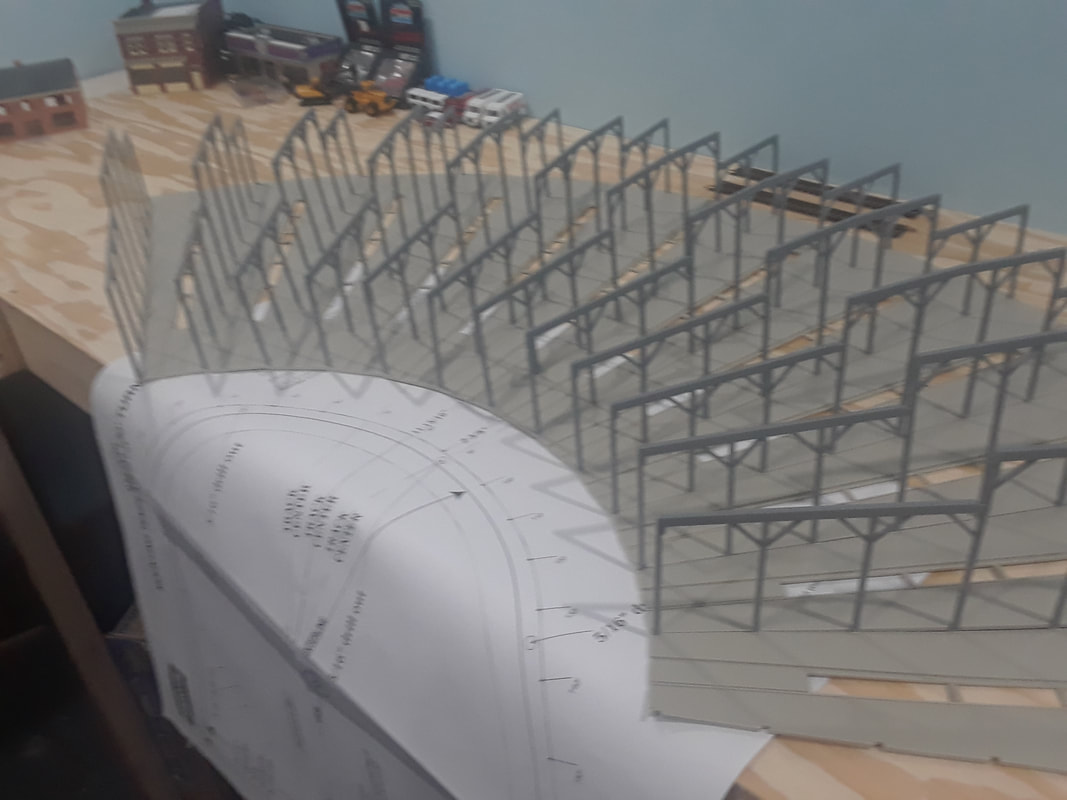
One of the two bay extensions that will be used is glued in place. 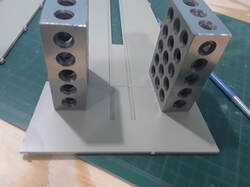 Hope you enjoyed the first post for the roundhouse!!!!
My Dad stopped over today to see what the model railroad looks like as he does not use the internet. While he was here I asked him to pick which building a Glass Store should go in as he used to have one. He picked the left corner store in the picture below with a long vertical signage down the side. So now my wifes's Dad's work will be represented in a fire station and my Dad's as a glass shop. 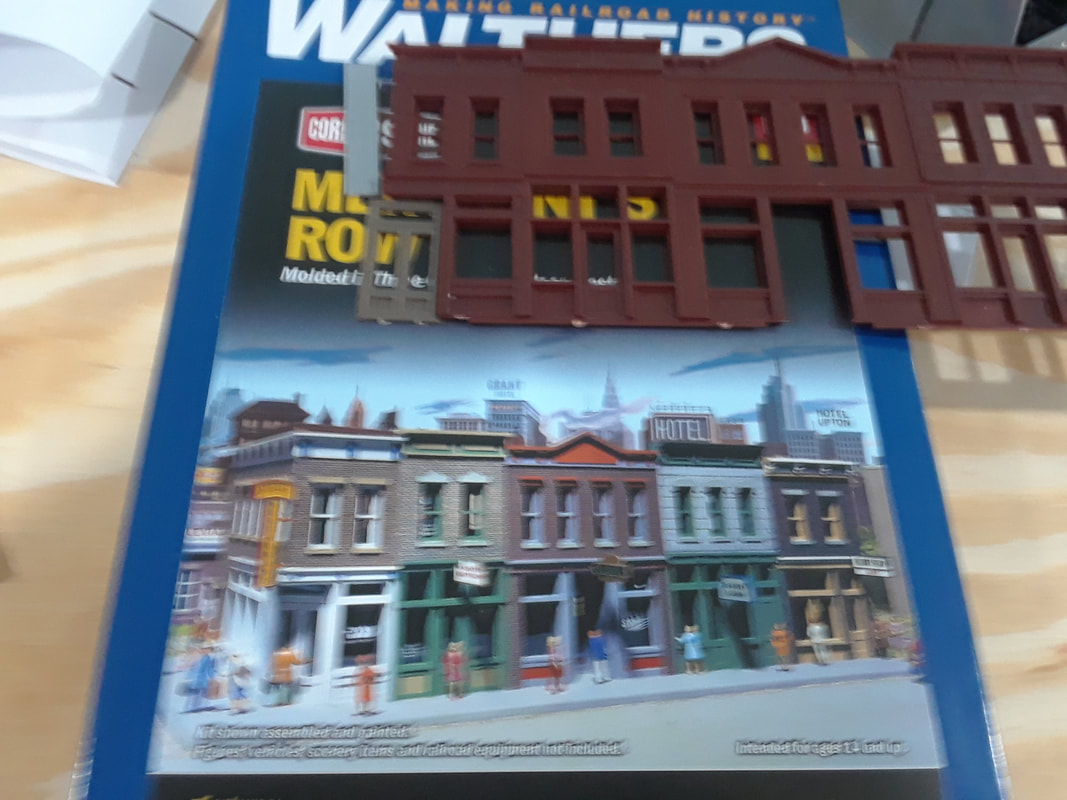 |
Categories
All
Archives
October 2023
|


 RSS Feed
