|
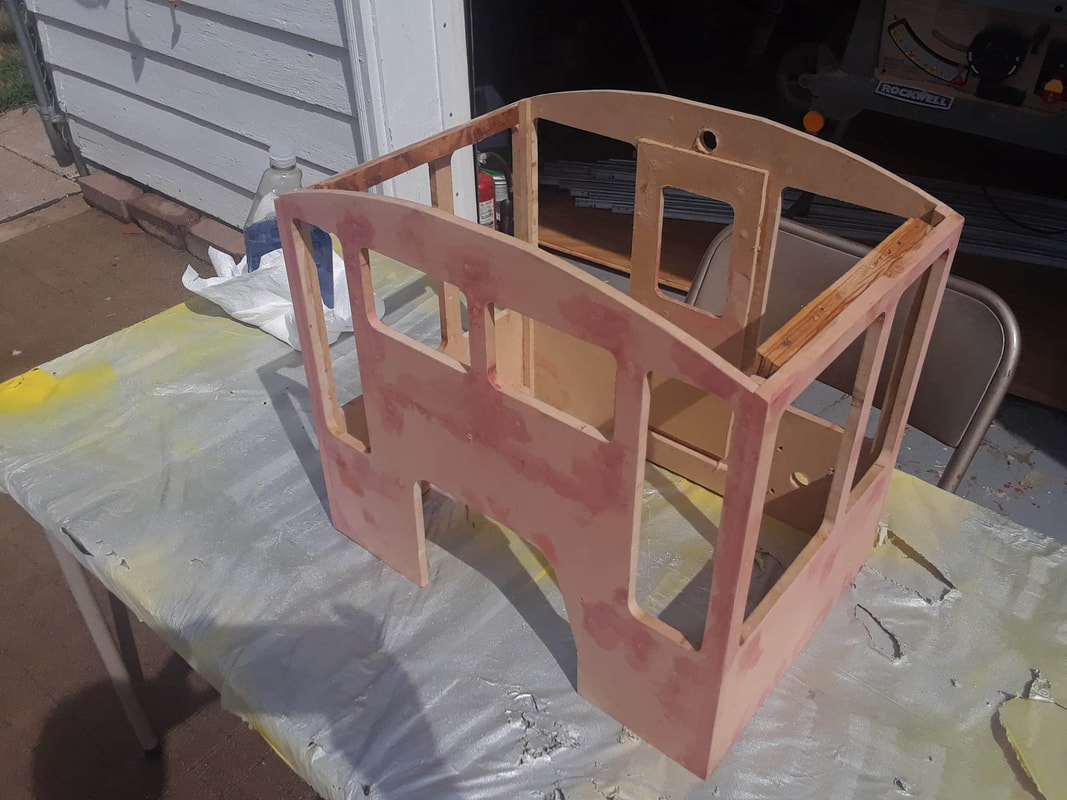
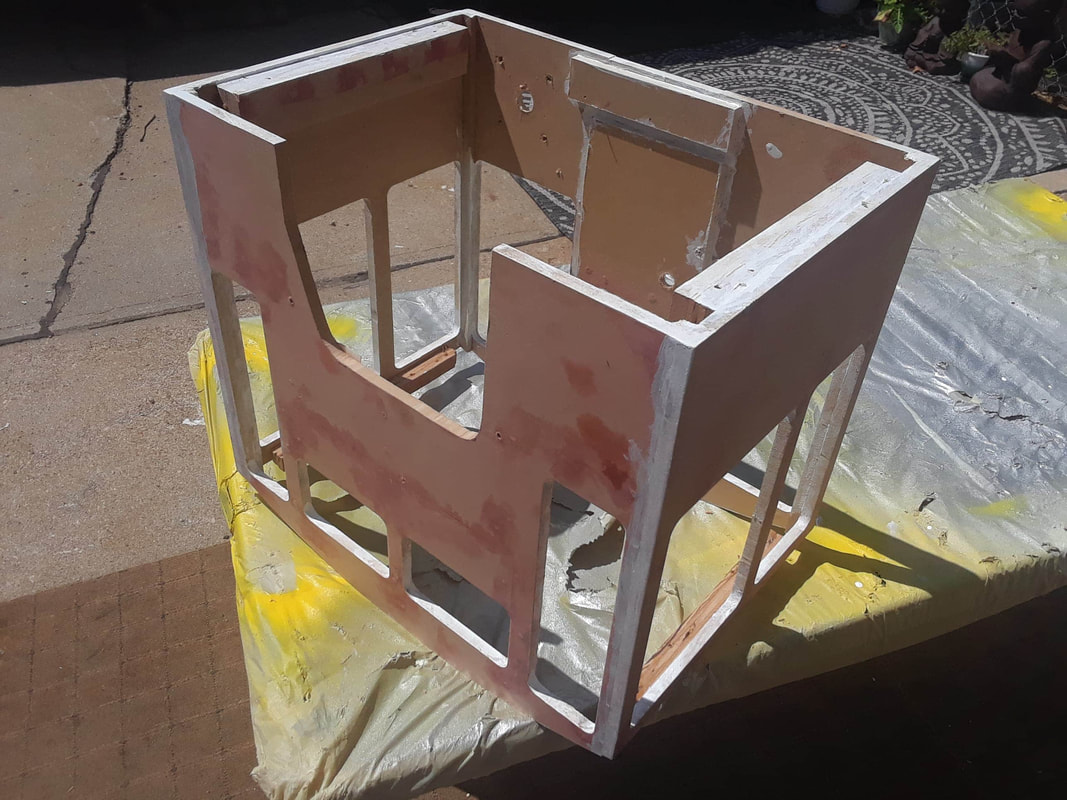
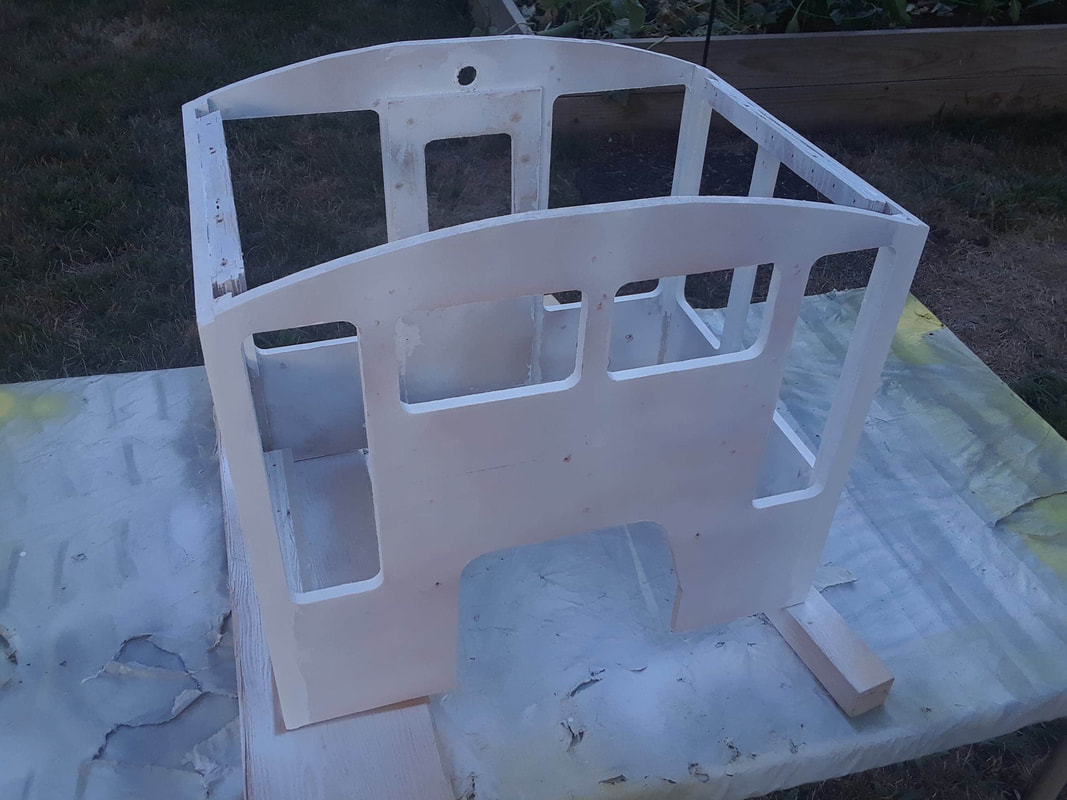
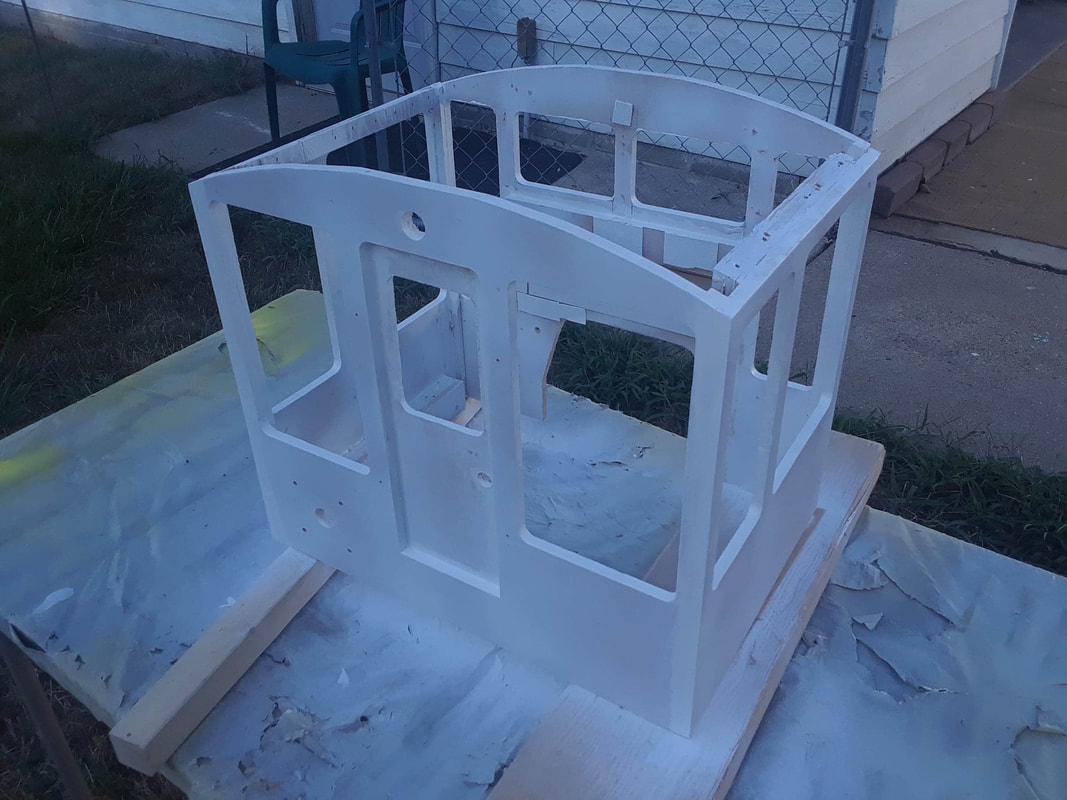
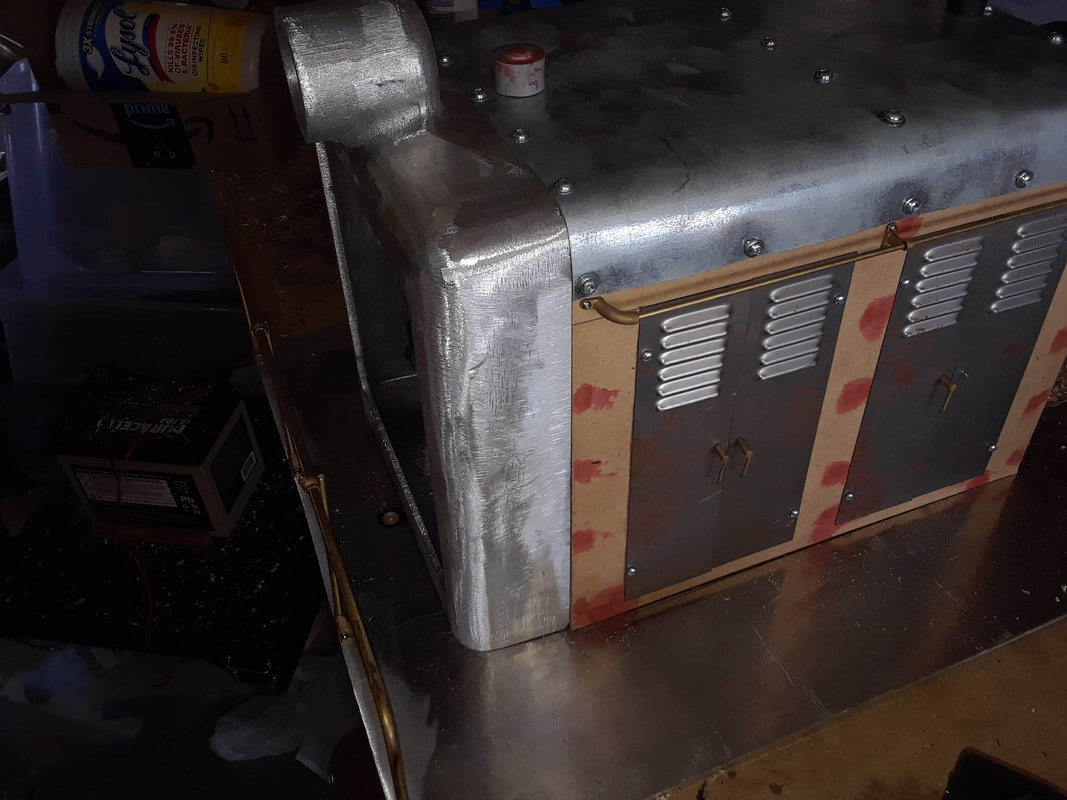
Sanded and cleansed the cab one extra time then hand primed all the end grain with mold proof latex.
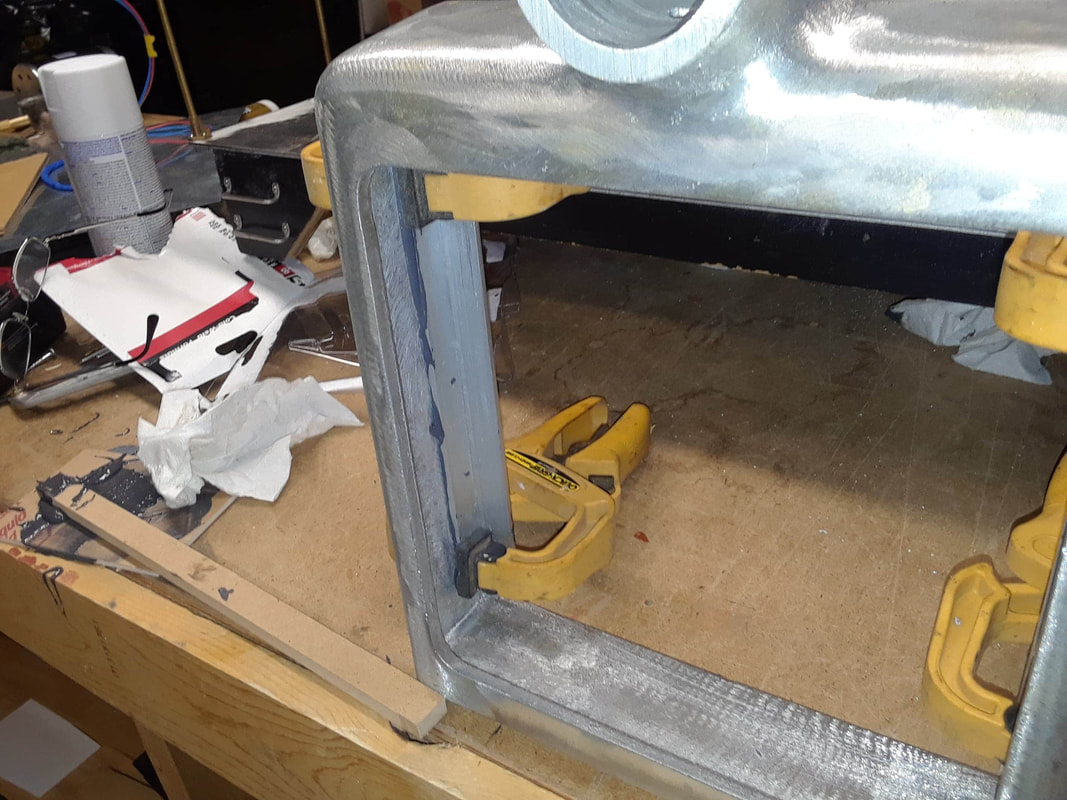
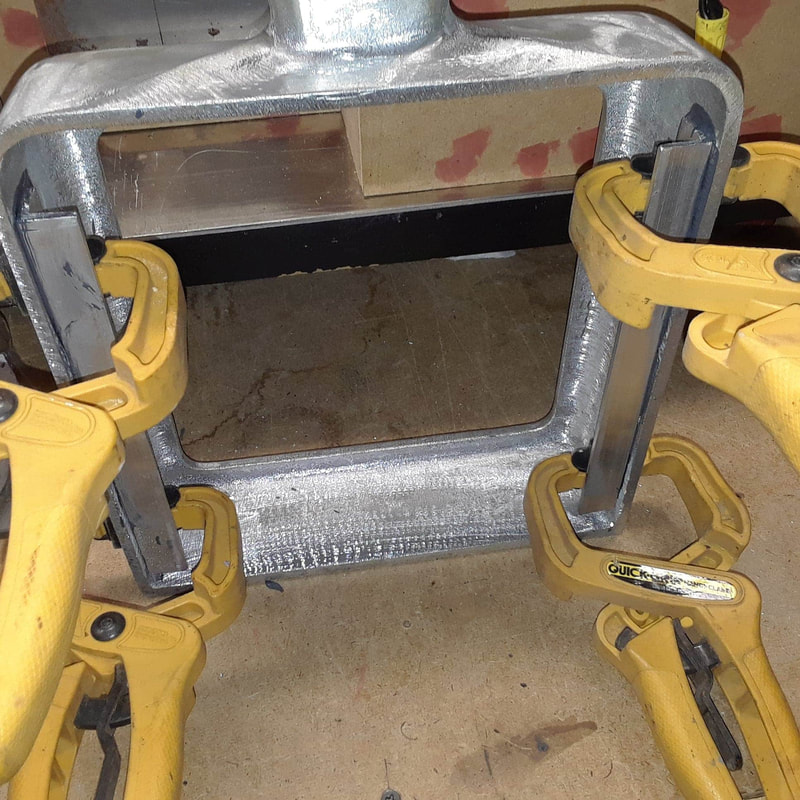
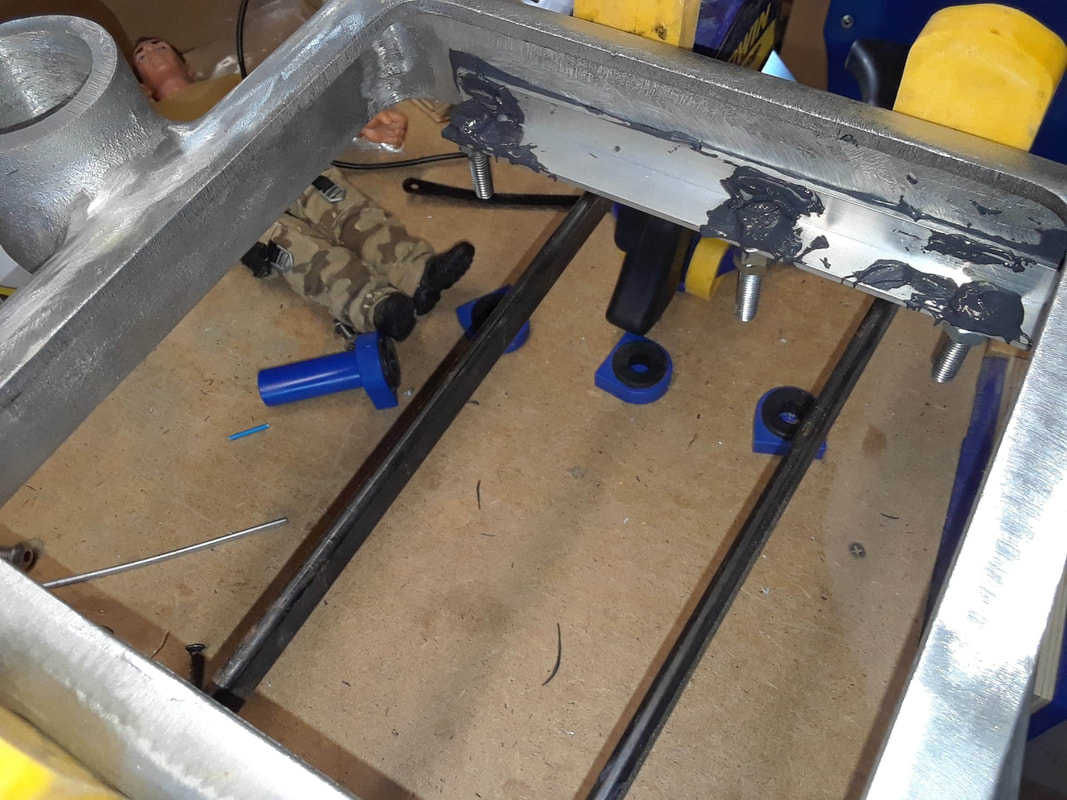
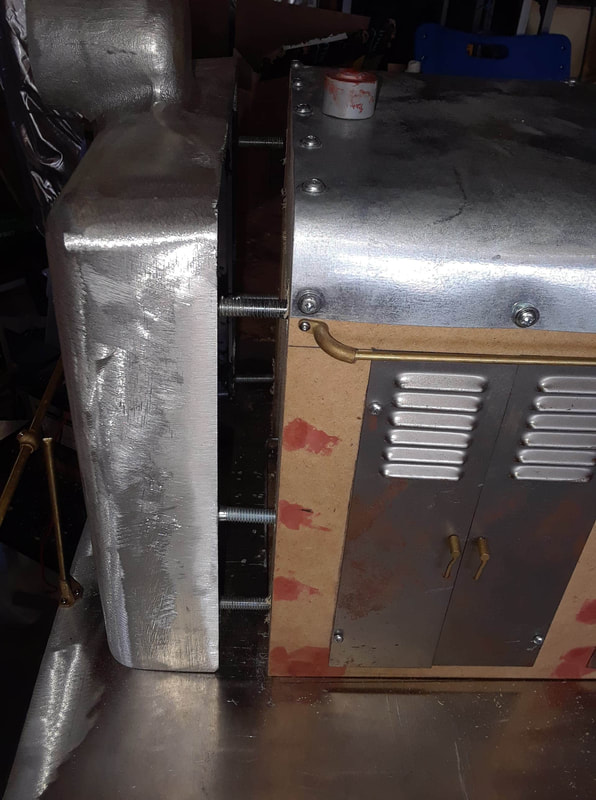
after that was dry I spray primed everything else for one thing coat. Will put another coat of primer on tomorrow. Using a bit of angle aluminum, six bolts, and some JB Weld. I made some mounts for the radiator cover.
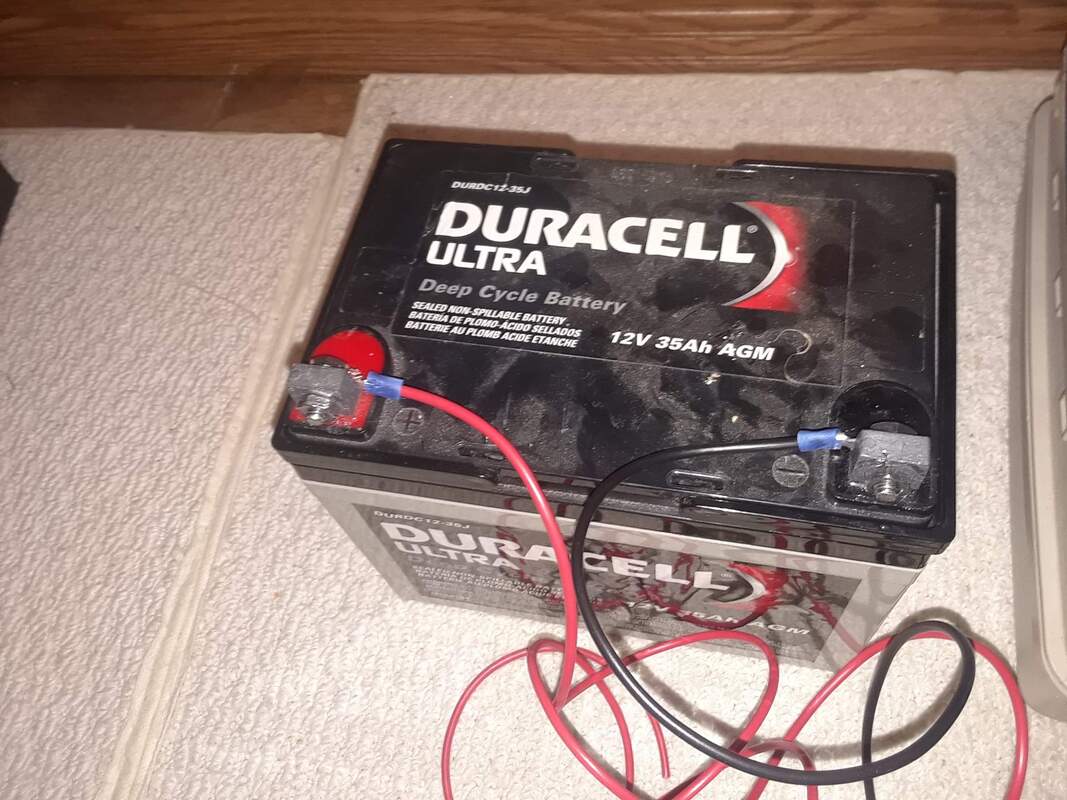
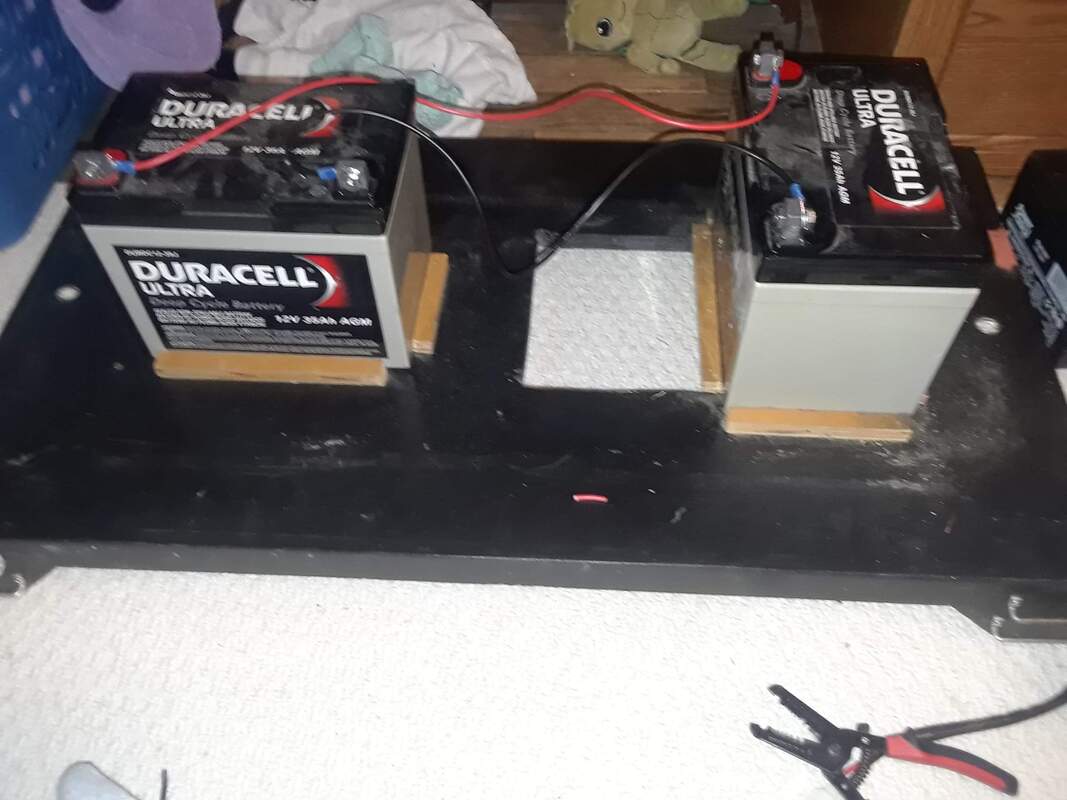
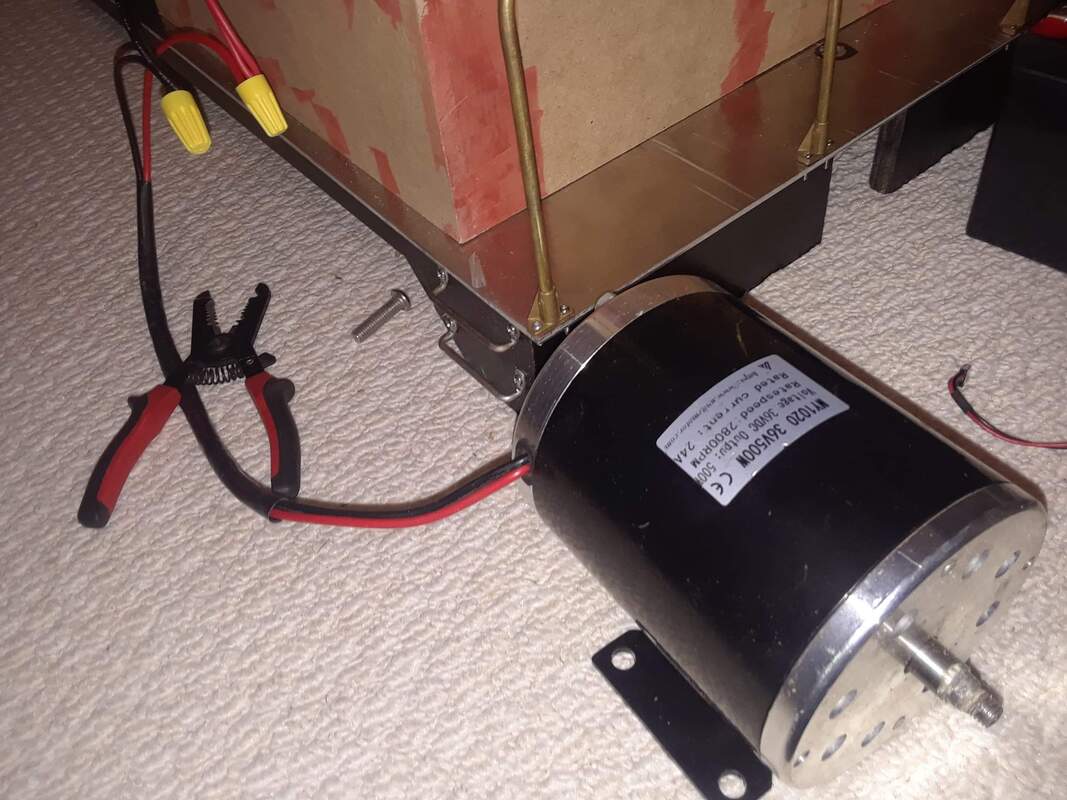
Sides up both batteries today and attached a spare motor to the setup to test out the remote functions. It is all working perfectly so far!
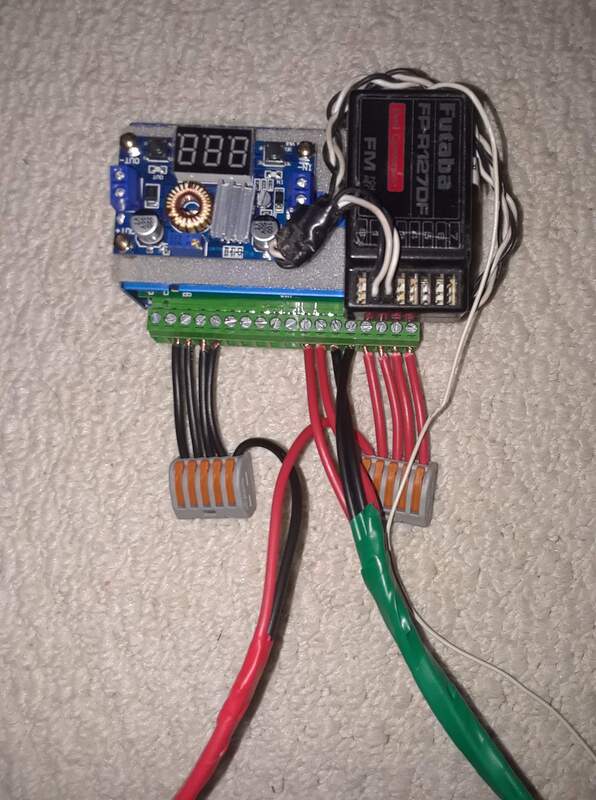
We got a short video of the motor running on our Facebook page for now with a full YouTube video coming soon! A major part of the pre-wiring is done. In simple terms the wires in the red electrical tape are power in from the batteries and the green wrapped wires is RC controlled power to the drive motor.
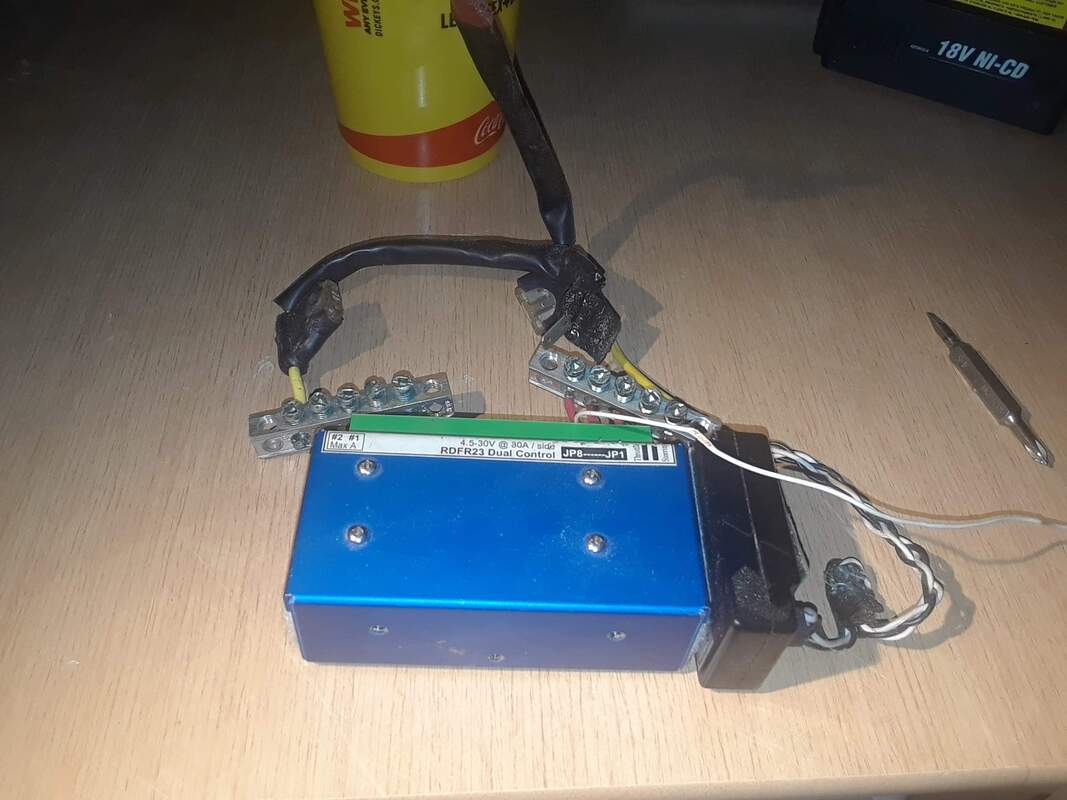
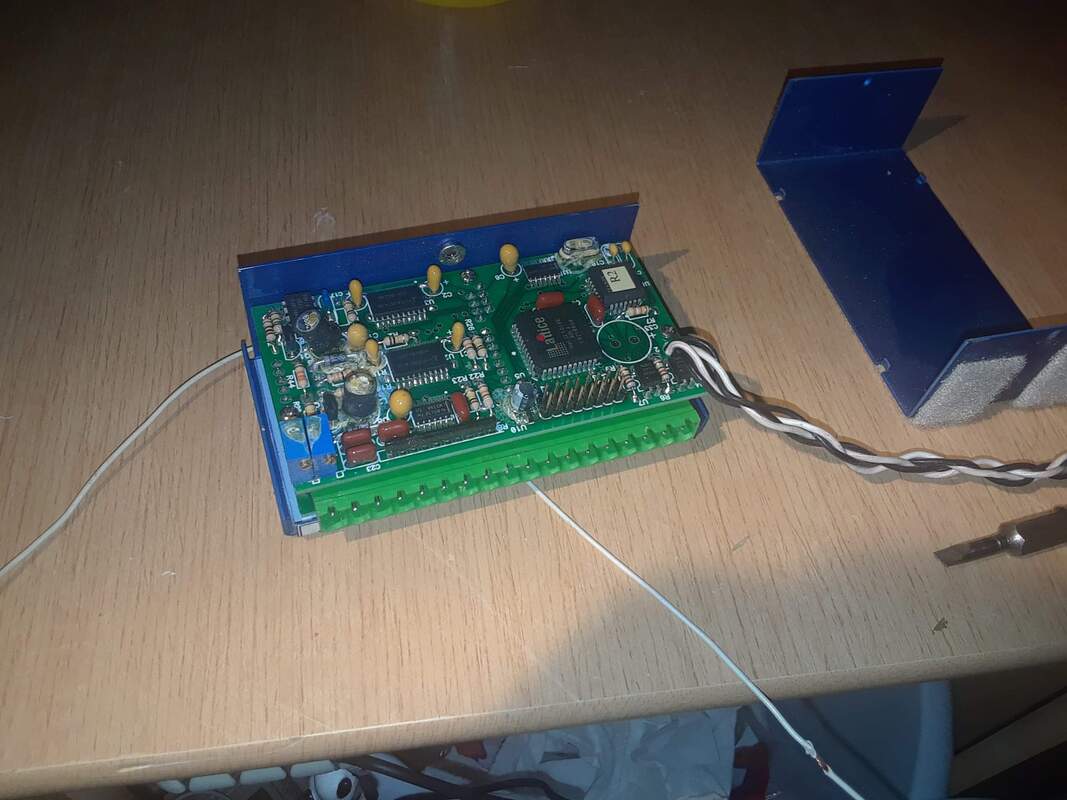
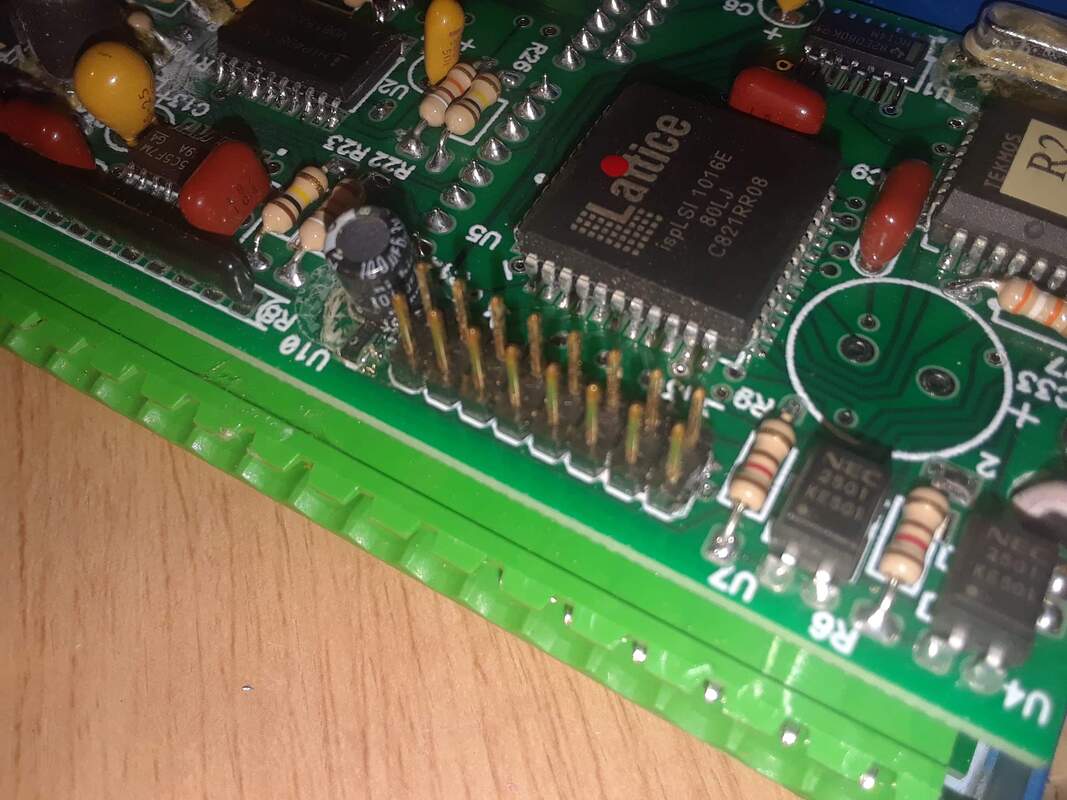
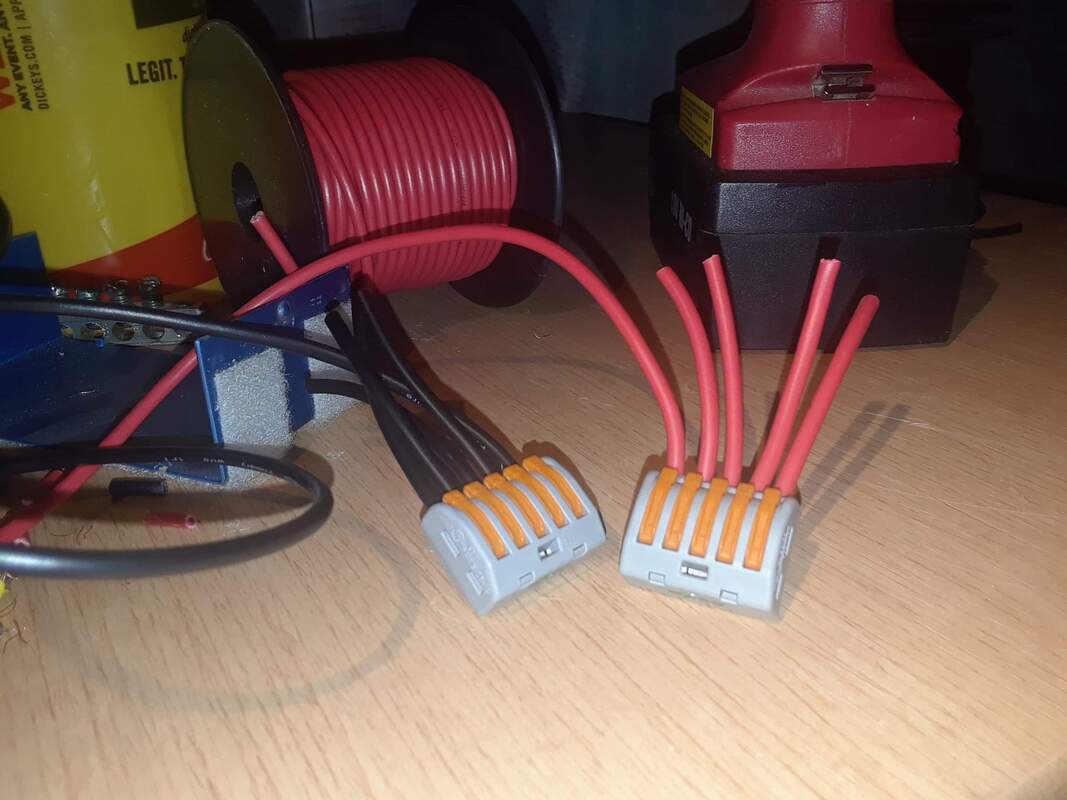
The black box on the right is the RC signal receiver for the remote control. The digital readout on the left shows volts in as well as adjustable volts coming out the other end. It will be set to 4.5v for the receiver on the right. It will also show battery life so I know when to stop running and go charge back up. Next part to wire up is the fuse box when it comes next week. Took the spare R2 motor controller and rewired it with better connectors and set it up for two joystick driving instead of mixed. The second channel will not get used and just be there as a backup.
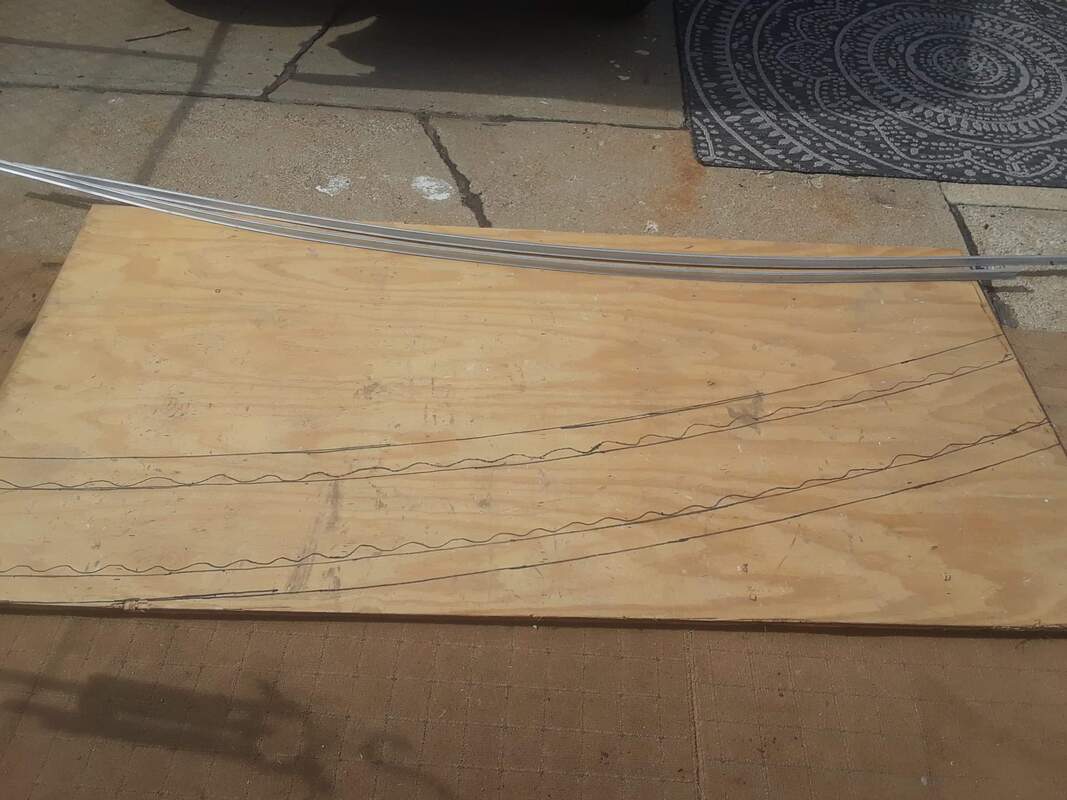
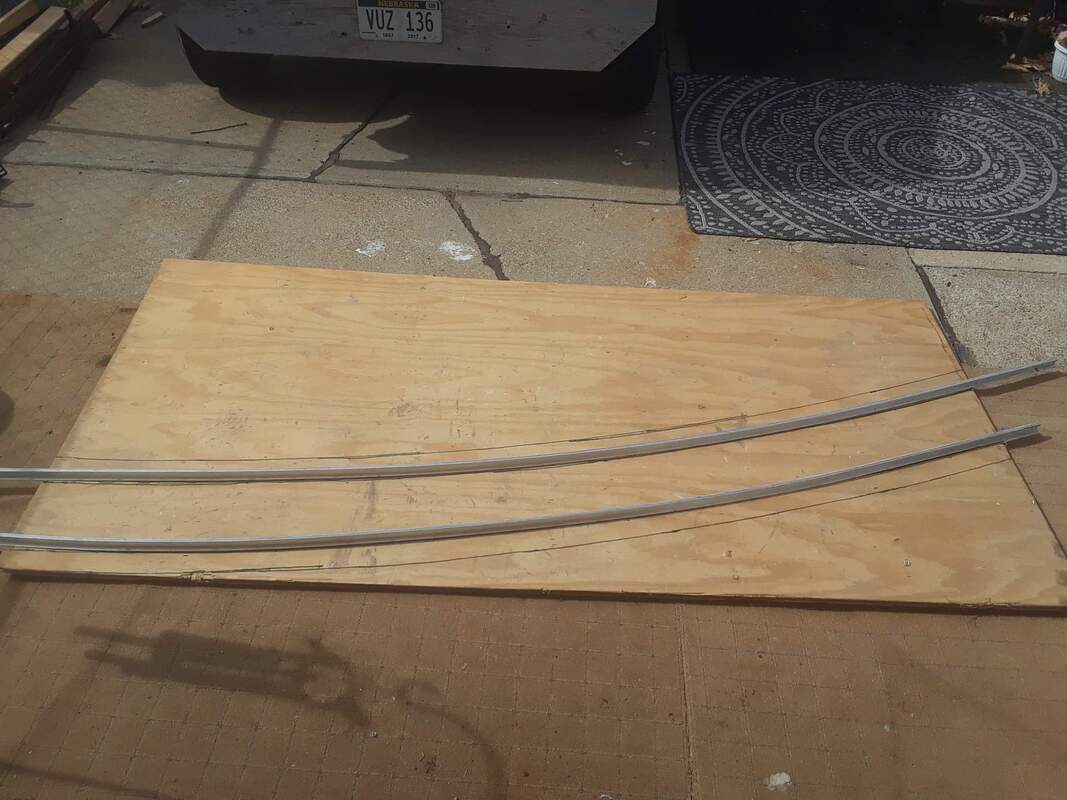
Also changing it from inline fuses to a fused power distribution center with a digital voltage readout. My wife and I started making a new curved track template. The old rail we prebent last year by eye is almost spot on! Still going to run the rail through the new bender to get the arc as smooth as possible.
|
Categories
All
Archives
October 2023
|
 RSS Feed
